Geodesic Dome Greenhouse 2.0

The greenhouse is dead. Long live the greenhouse!

After 9 years with us, and at least 3 years with the previous owners, our old greenhouse was rotting out. Spruce wood and high humidity don’t mix well, and some of the boards hardly had any solid wood left. But even in this condition, the dome could support my weight when I hung from the top.But it was time to go and in late May we tore it down and gathered materials to make a new one.


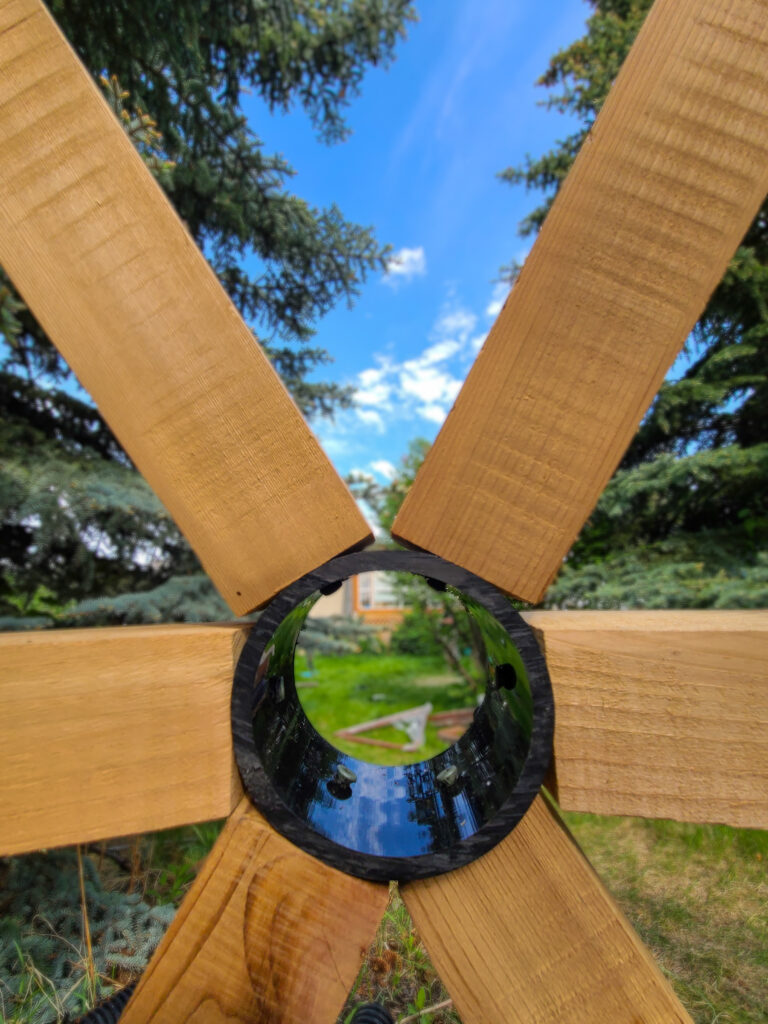
The new dome would be the same footprint, but with a different connection style. We used ABS pipes as hubs instead of having the wood come together in complex joints. This made cutting the wood pieces much easier.

The plans we used: https://acidome.com/lab/calc/#Flat_7/12_Piped_D90_3V_R2.75_beams_50.8×38

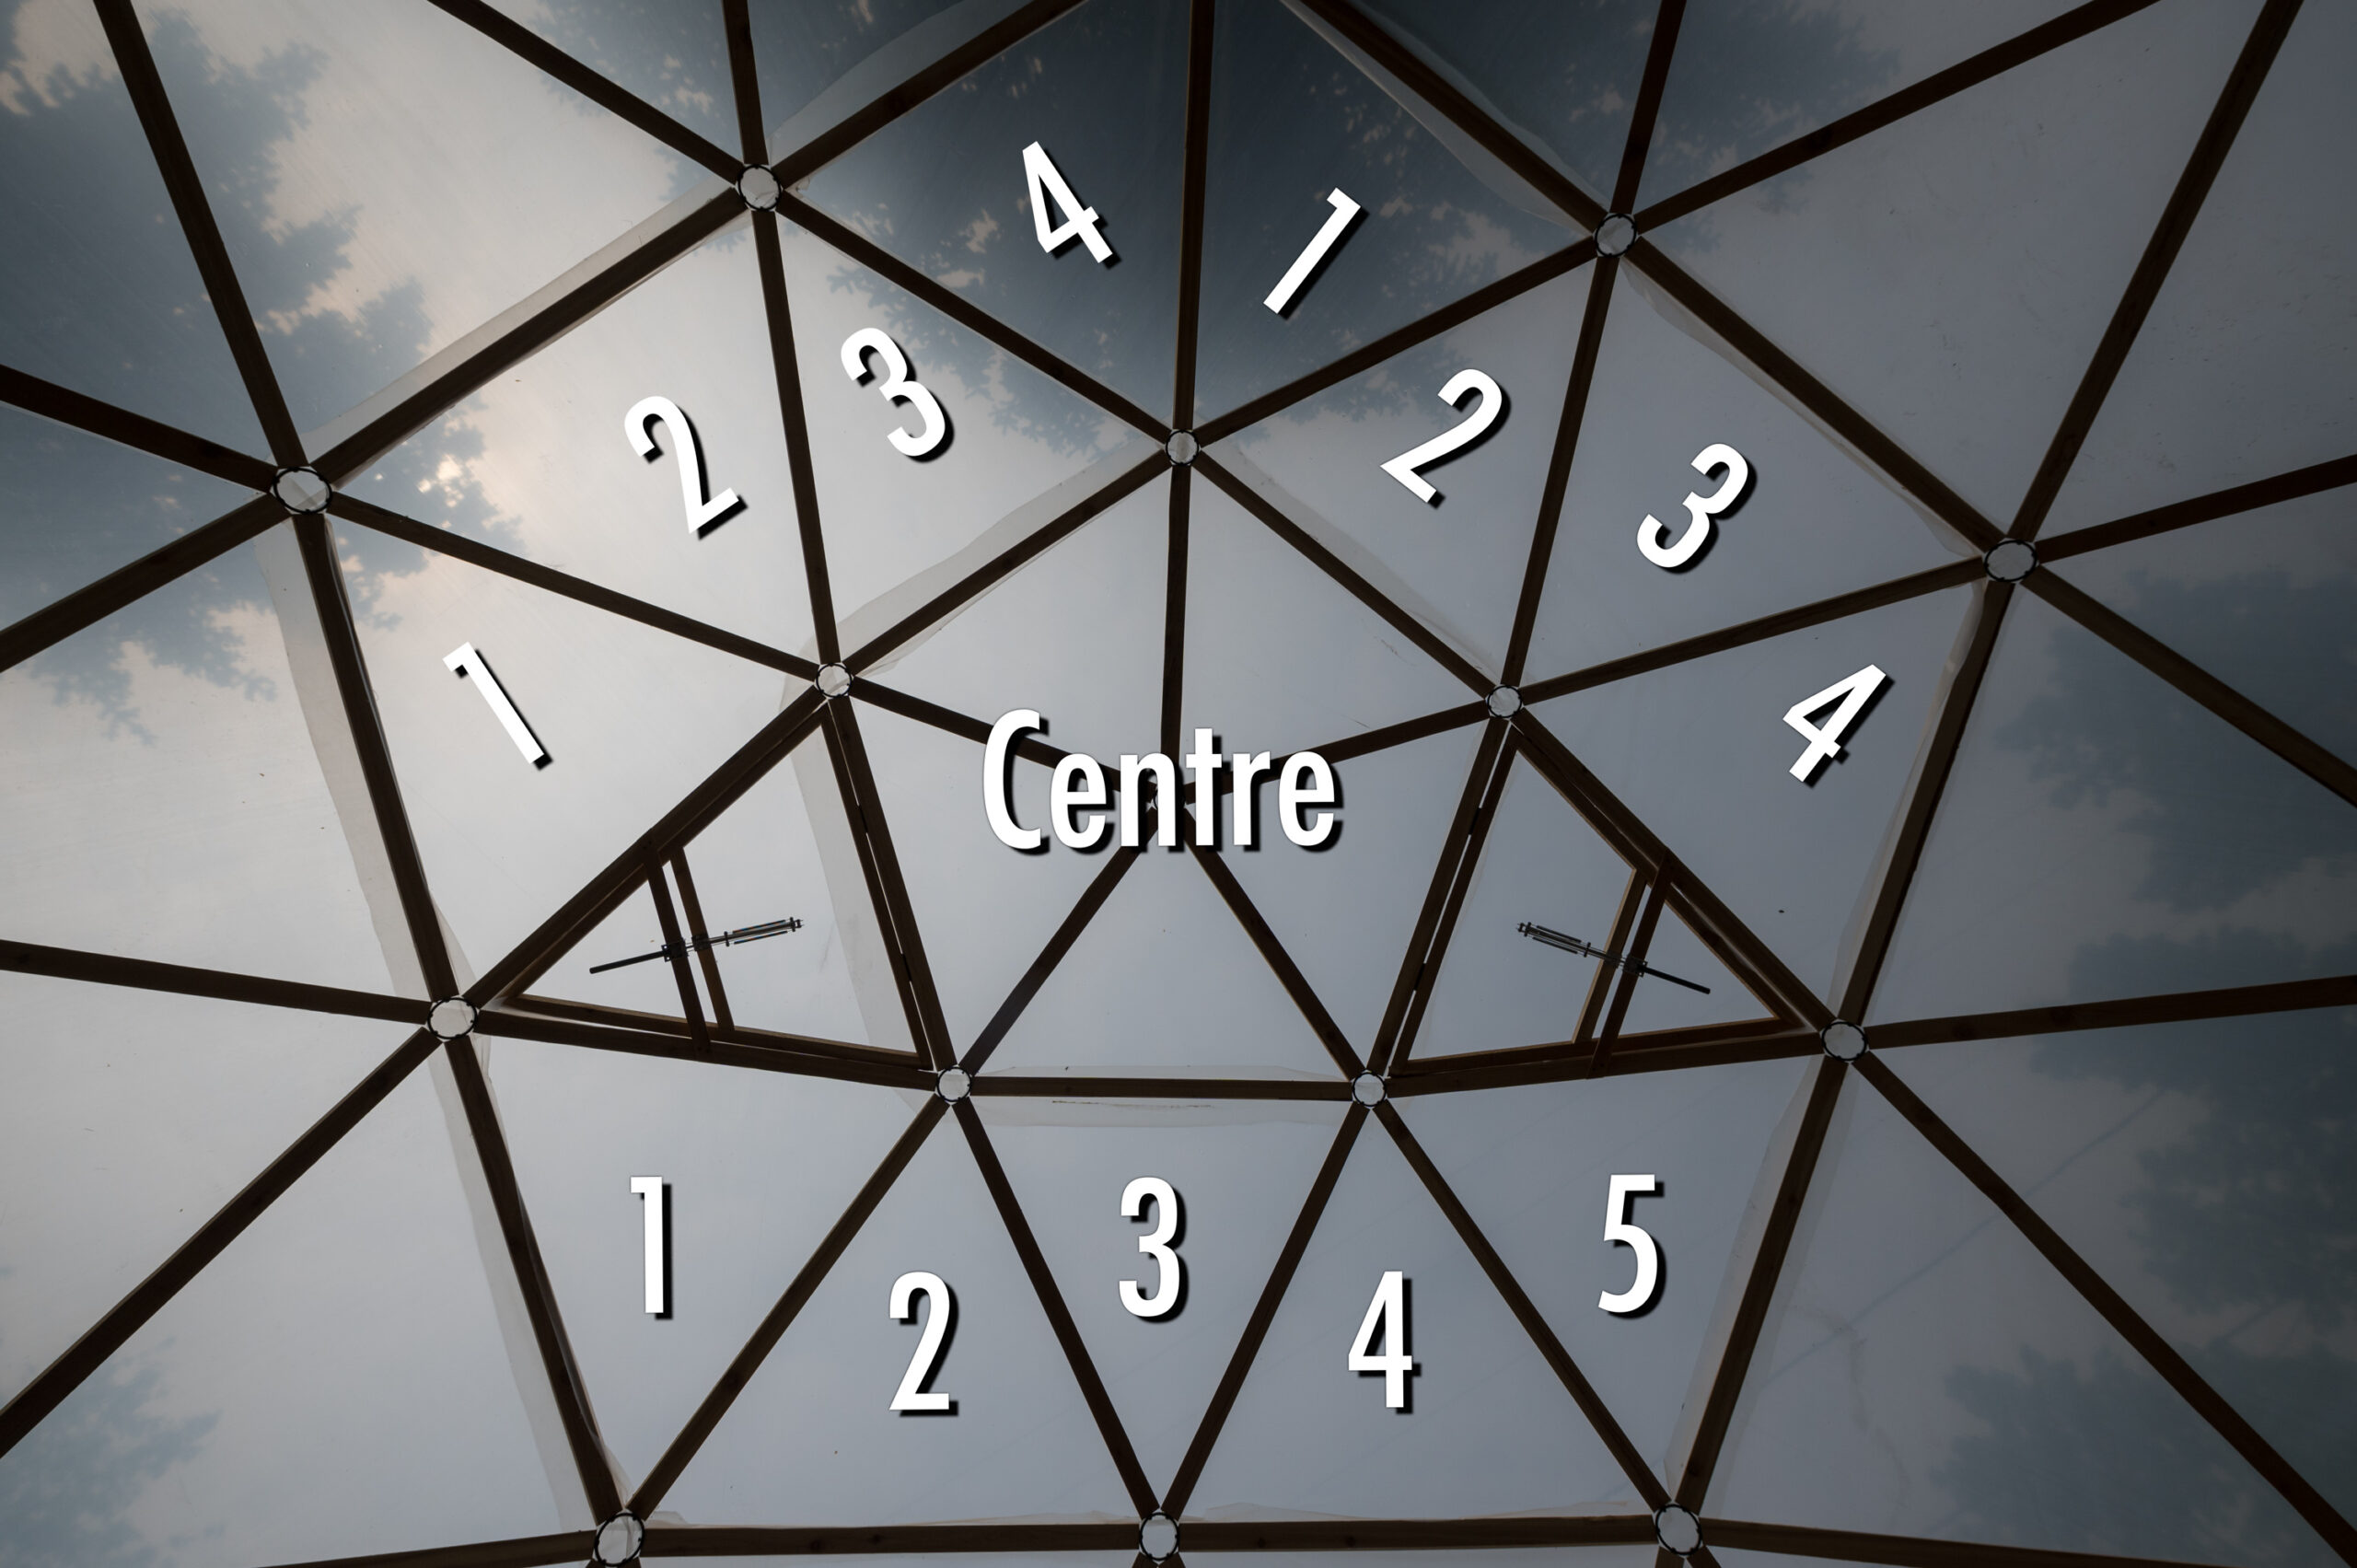
This dome is a 7/12th dome (just over half a sphere)

It is 5.4 meters across (or 18 ft, or approximately 1/20th a football field for my American friends), and just over 3 m or 10 ft high at the centre.

165 boards in 5 different lengths (would be just 3 but we want a flat base).

61 pieces of ABS pipe cut into rings as connectors.

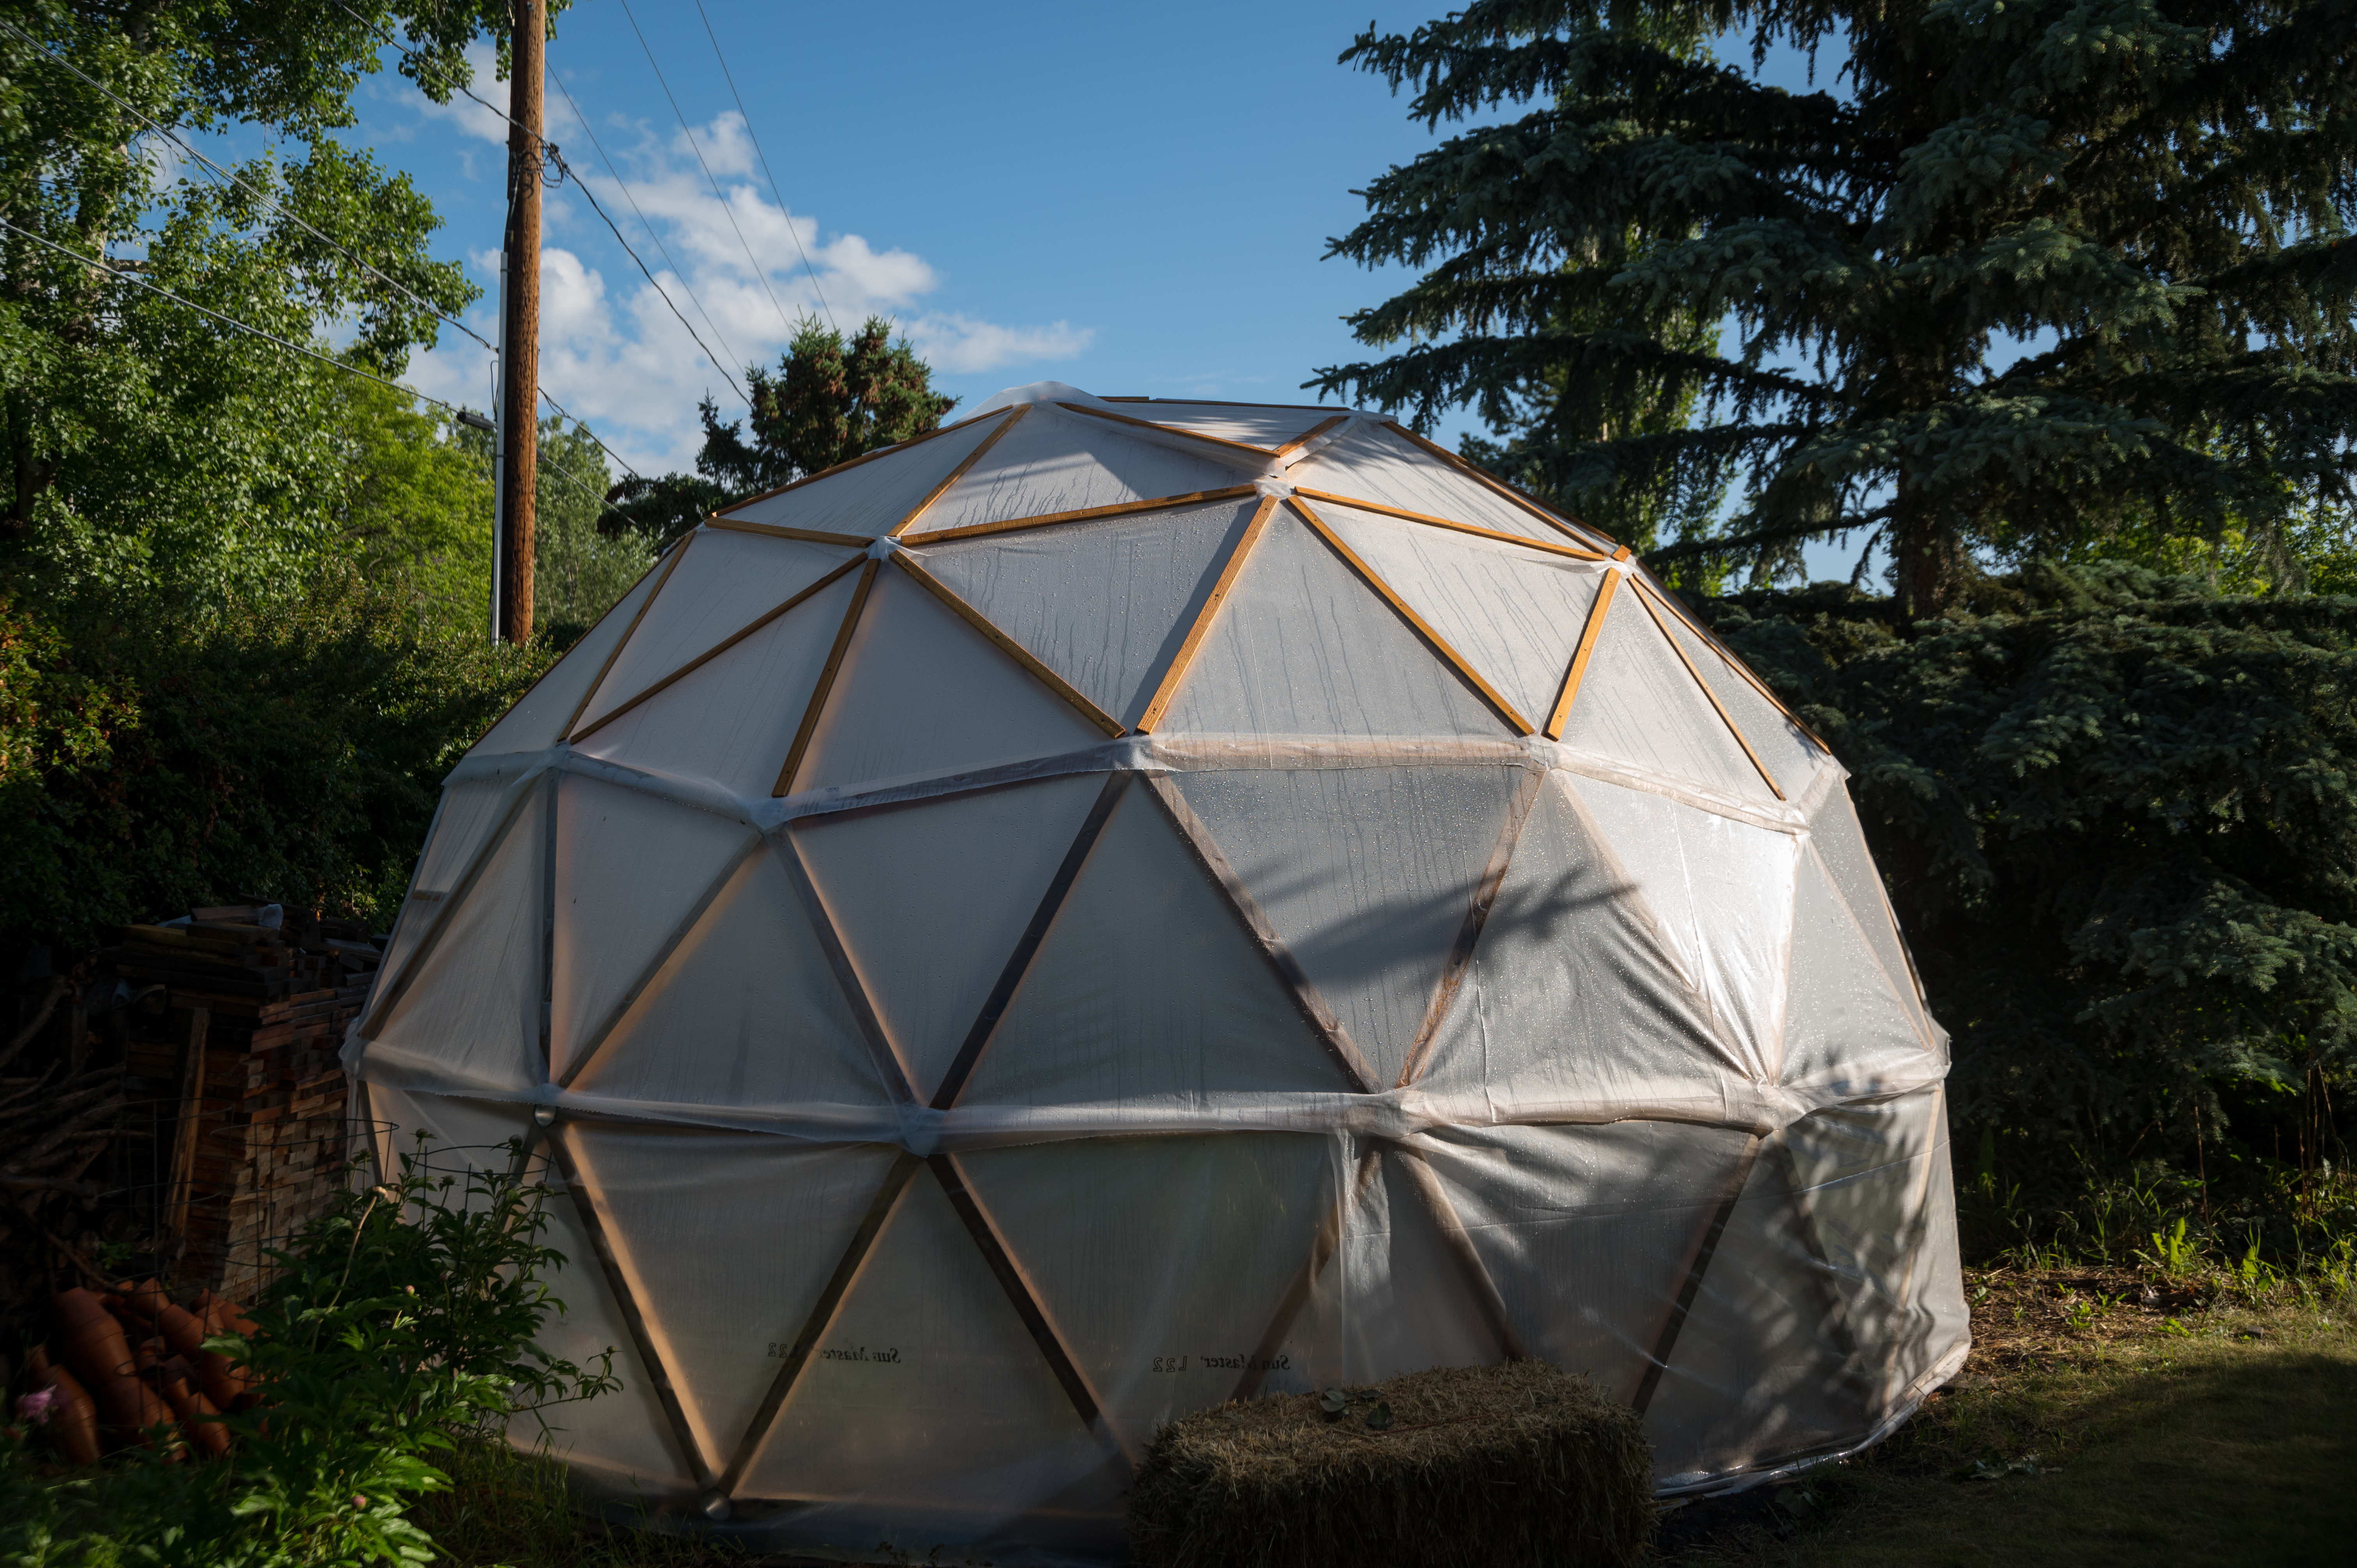
Once the frame is up, you have to cover it. We ordered some greenhouse grade poly to cover it, but then there is the challenge of covering a partial sphere with a flat material. We ended up going in in rows.

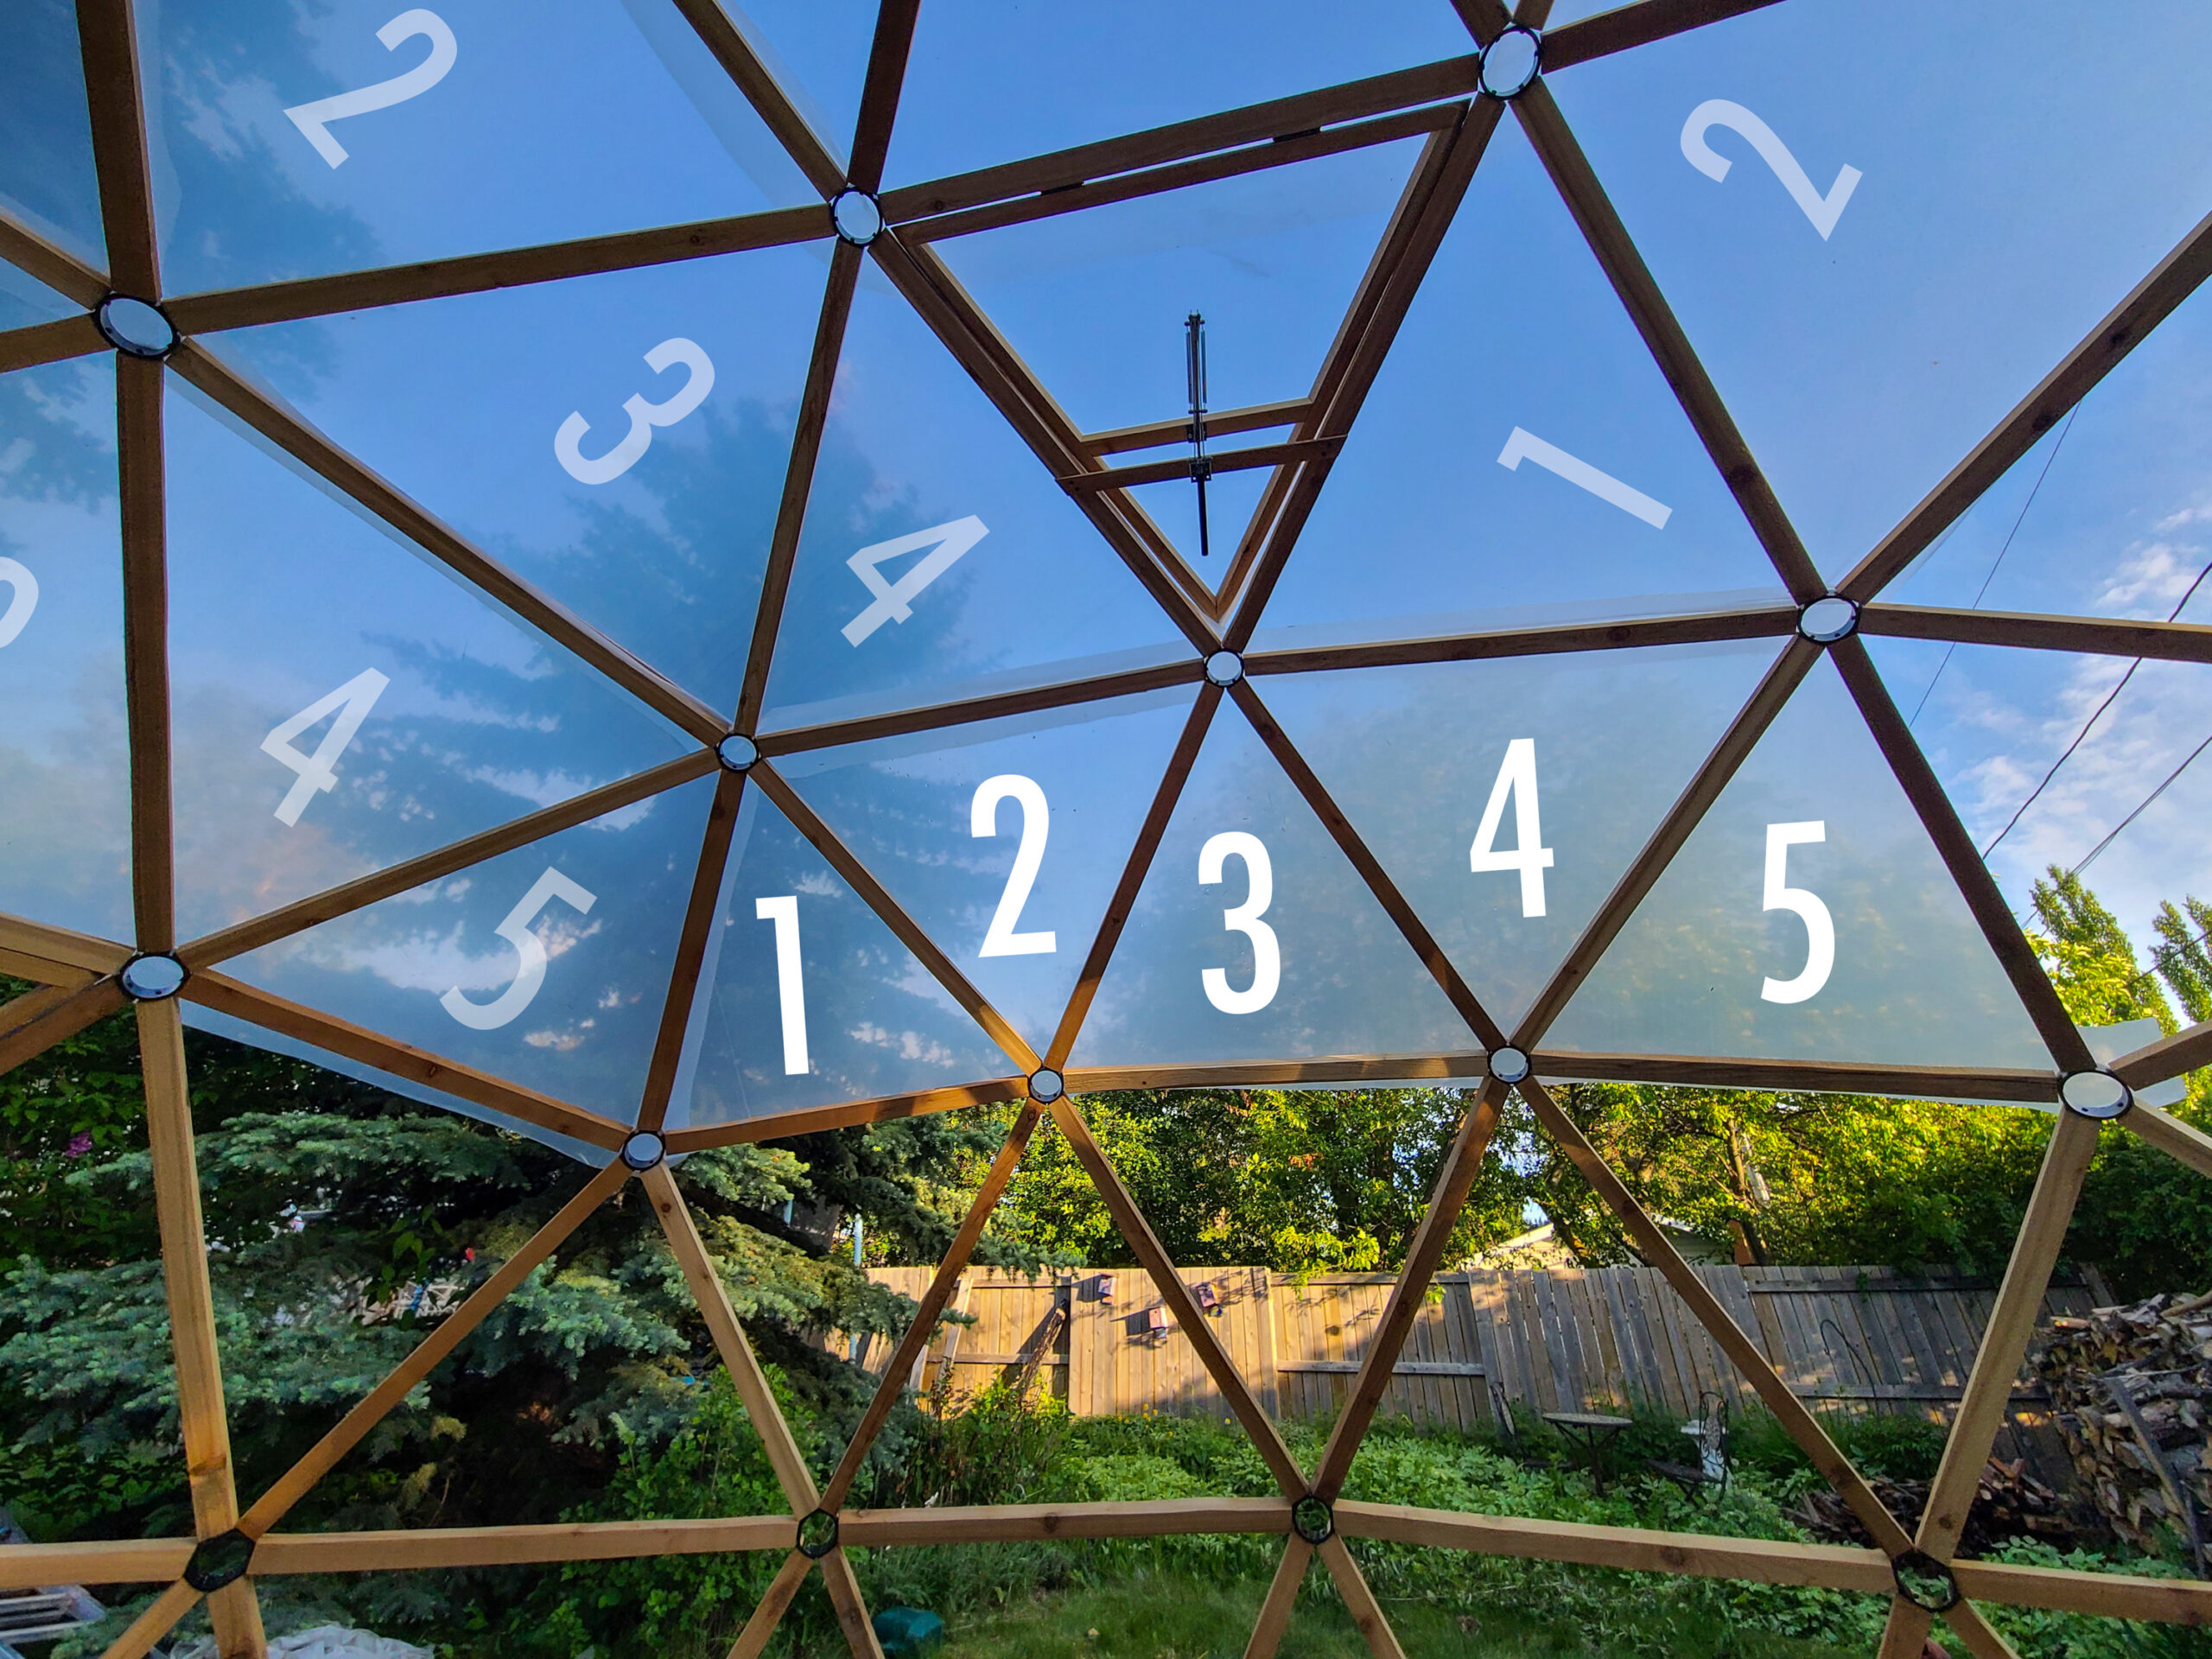
The peak of our dome is a pentagon, so we decided to do one piece for the whole top to reduce the chance of leaks. This mean we had to do some folding to get it over the curve, but the folds are hidden under the cedar straps we put on. The plastic is stapled in place, then thin wooden straps to help hold it down in the wind.

The peak is hard to do as it is all ladder work. You could probably climb the structure, but cedar is a weak wood and I didn’t want to trust it.

We decided to cut the greenhouse plastic into strips rather than larger geometric shapes. It worked pretty well, and it gives good overlap from one layer on down. We were often able to do 4 or 5 triangles in a row at a time.

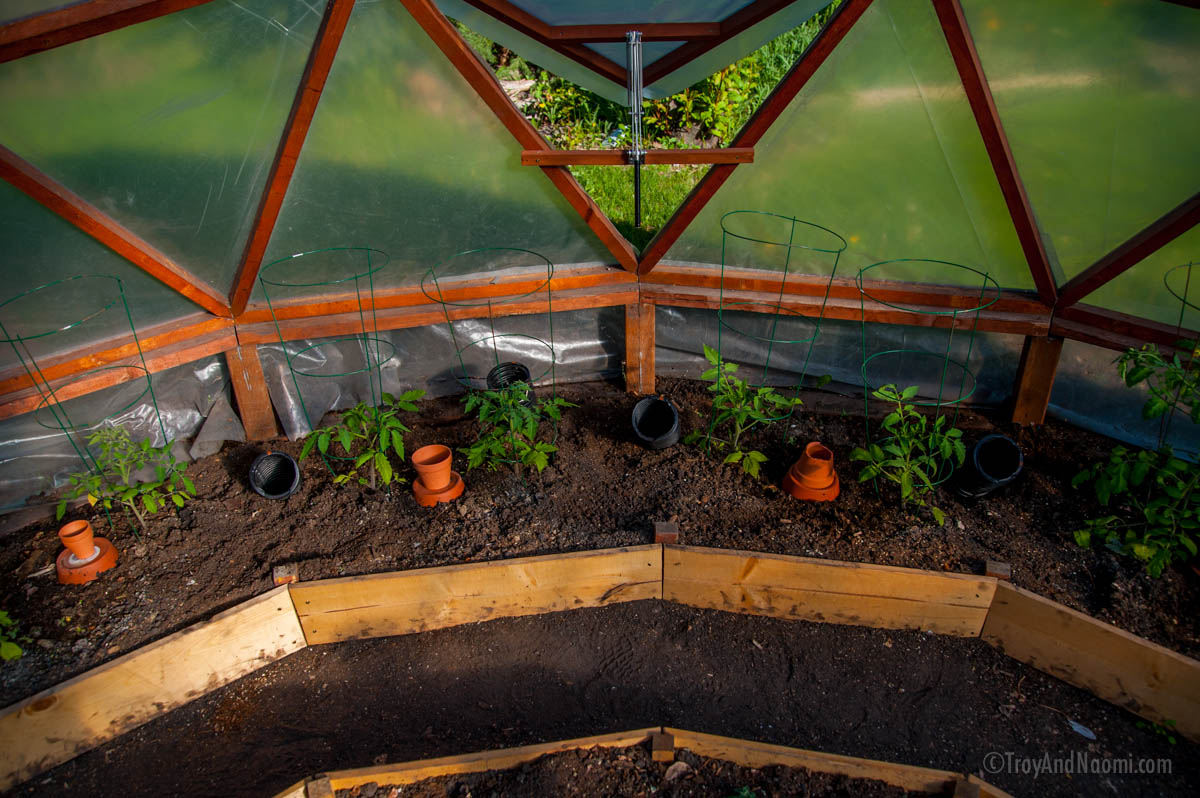
Putting up the center and the next layer down were the hardest, and that layer we had to work around the two windows. Lower than that it got much easier.

Putting on the plastic skin took a lot longer than I thought as each piece had to be cut out, stapled, and then straps put on to help hold the plastic in place.

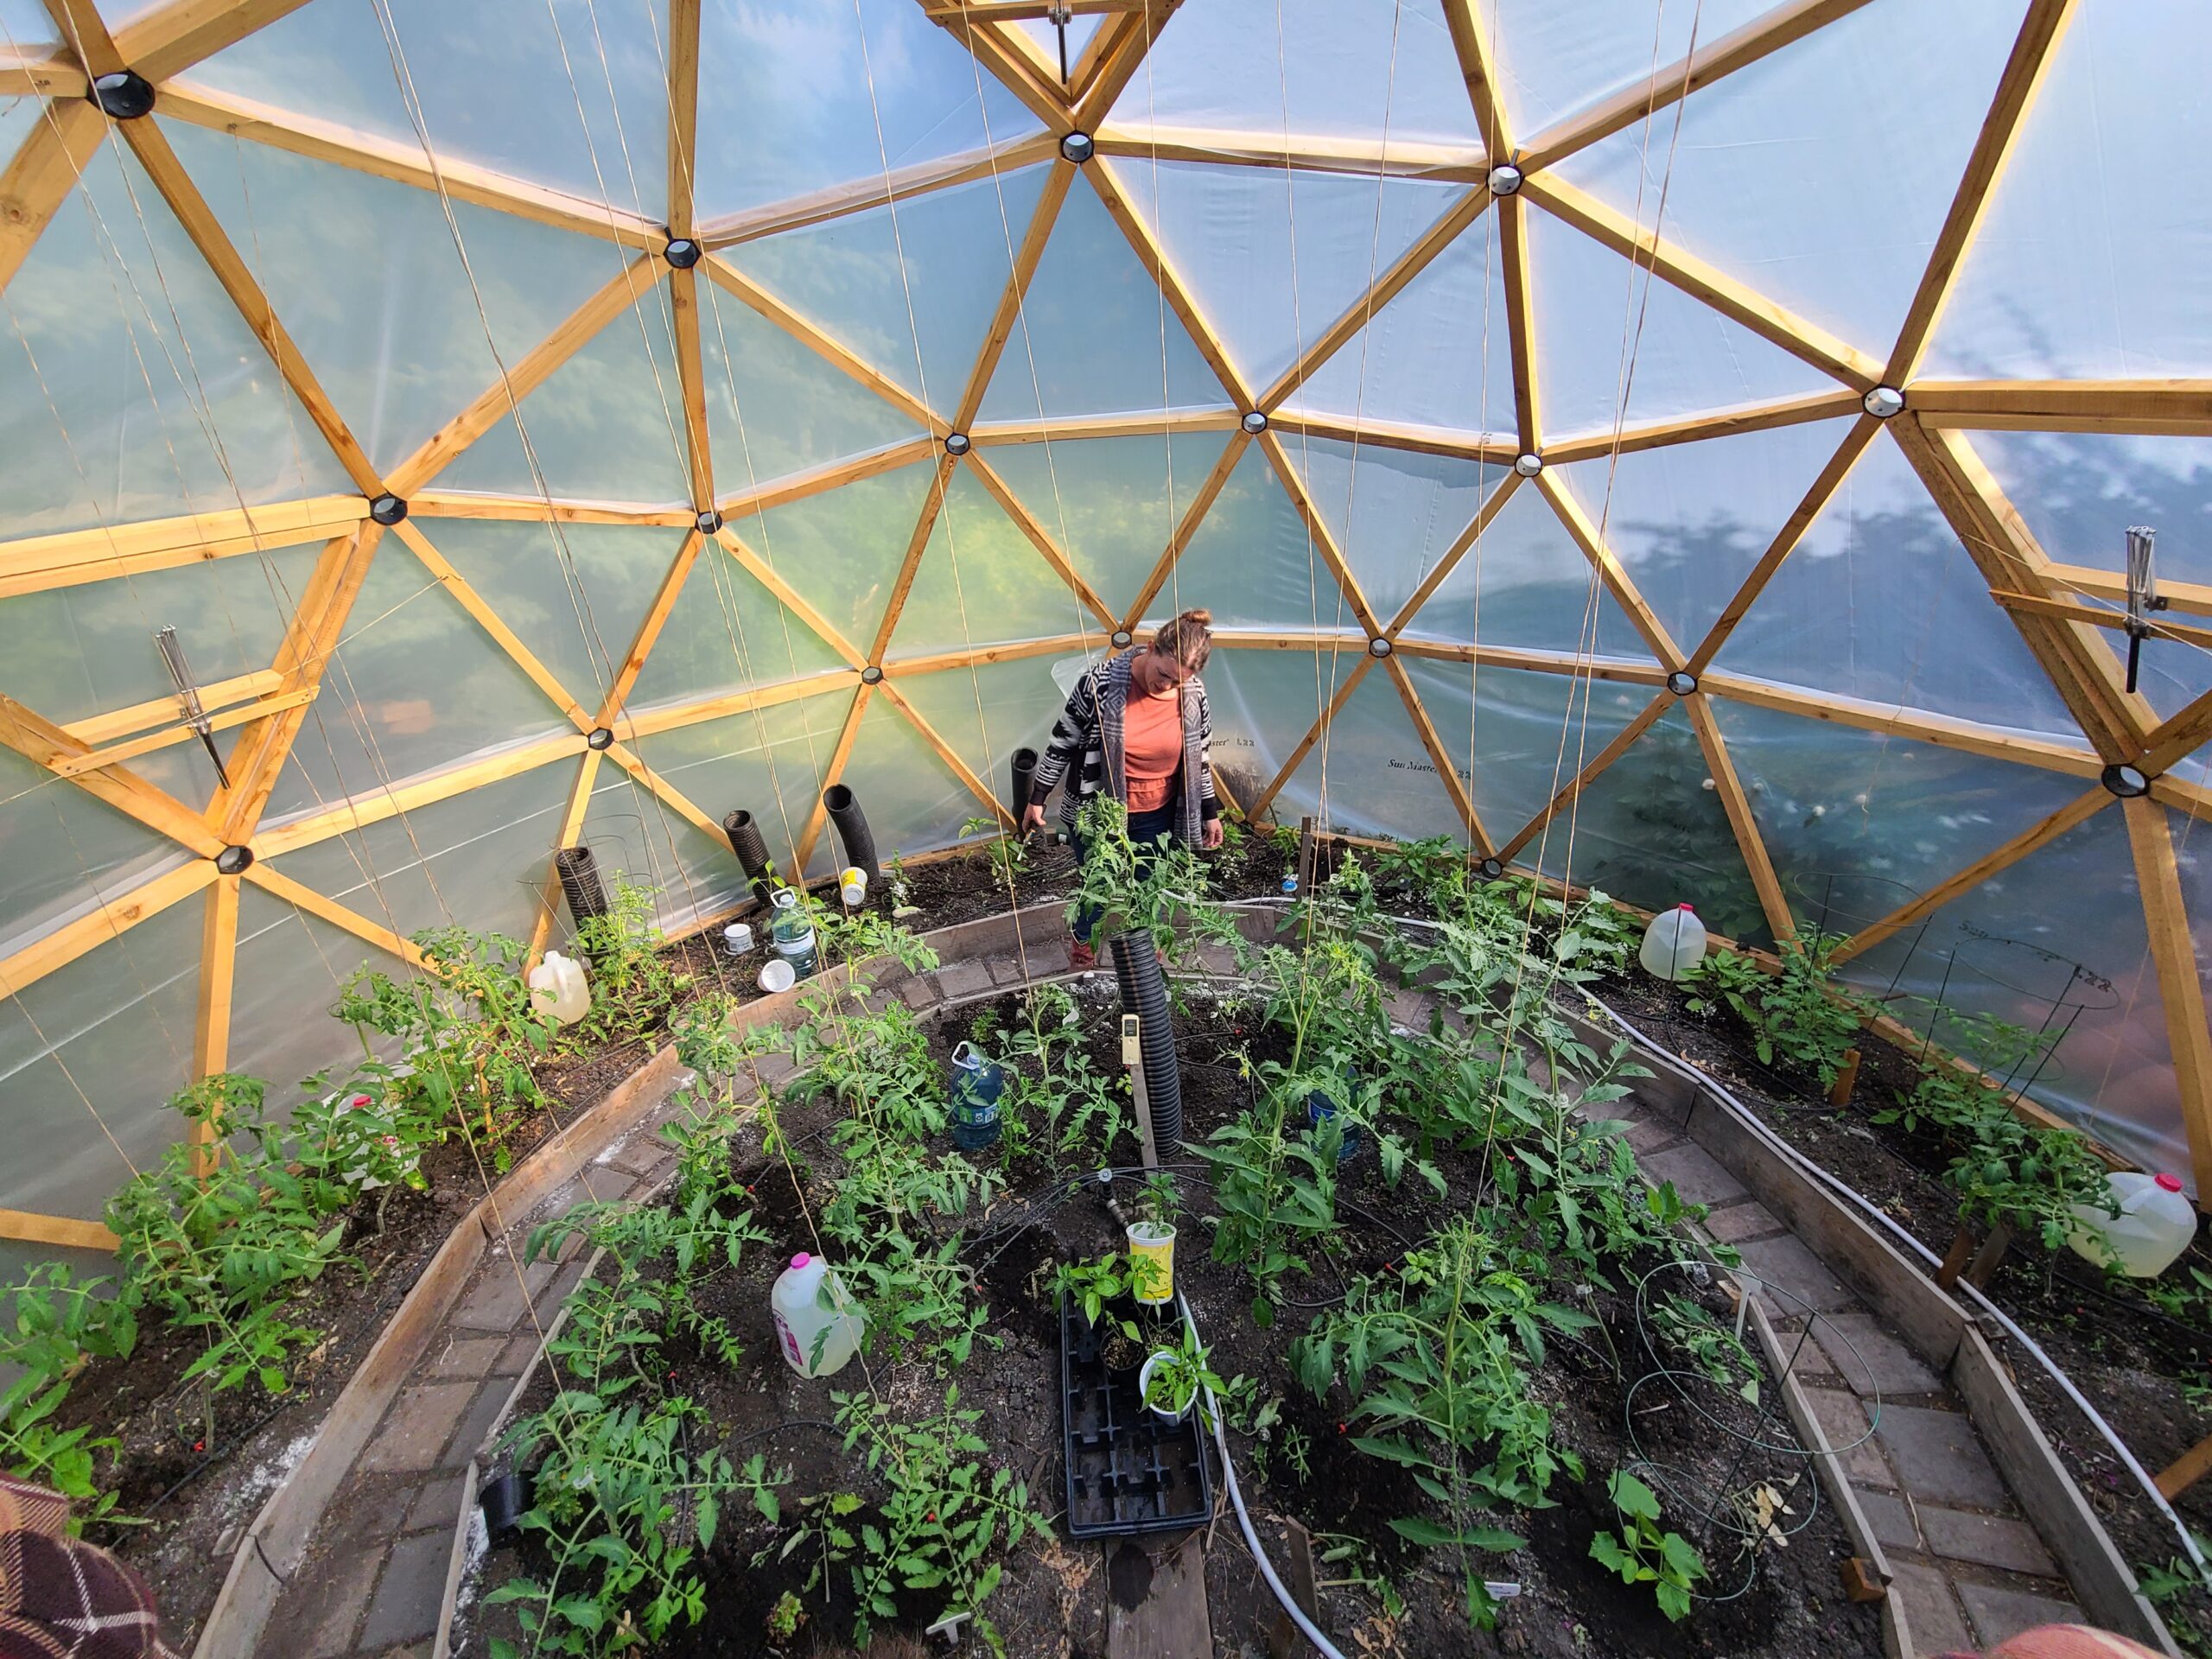
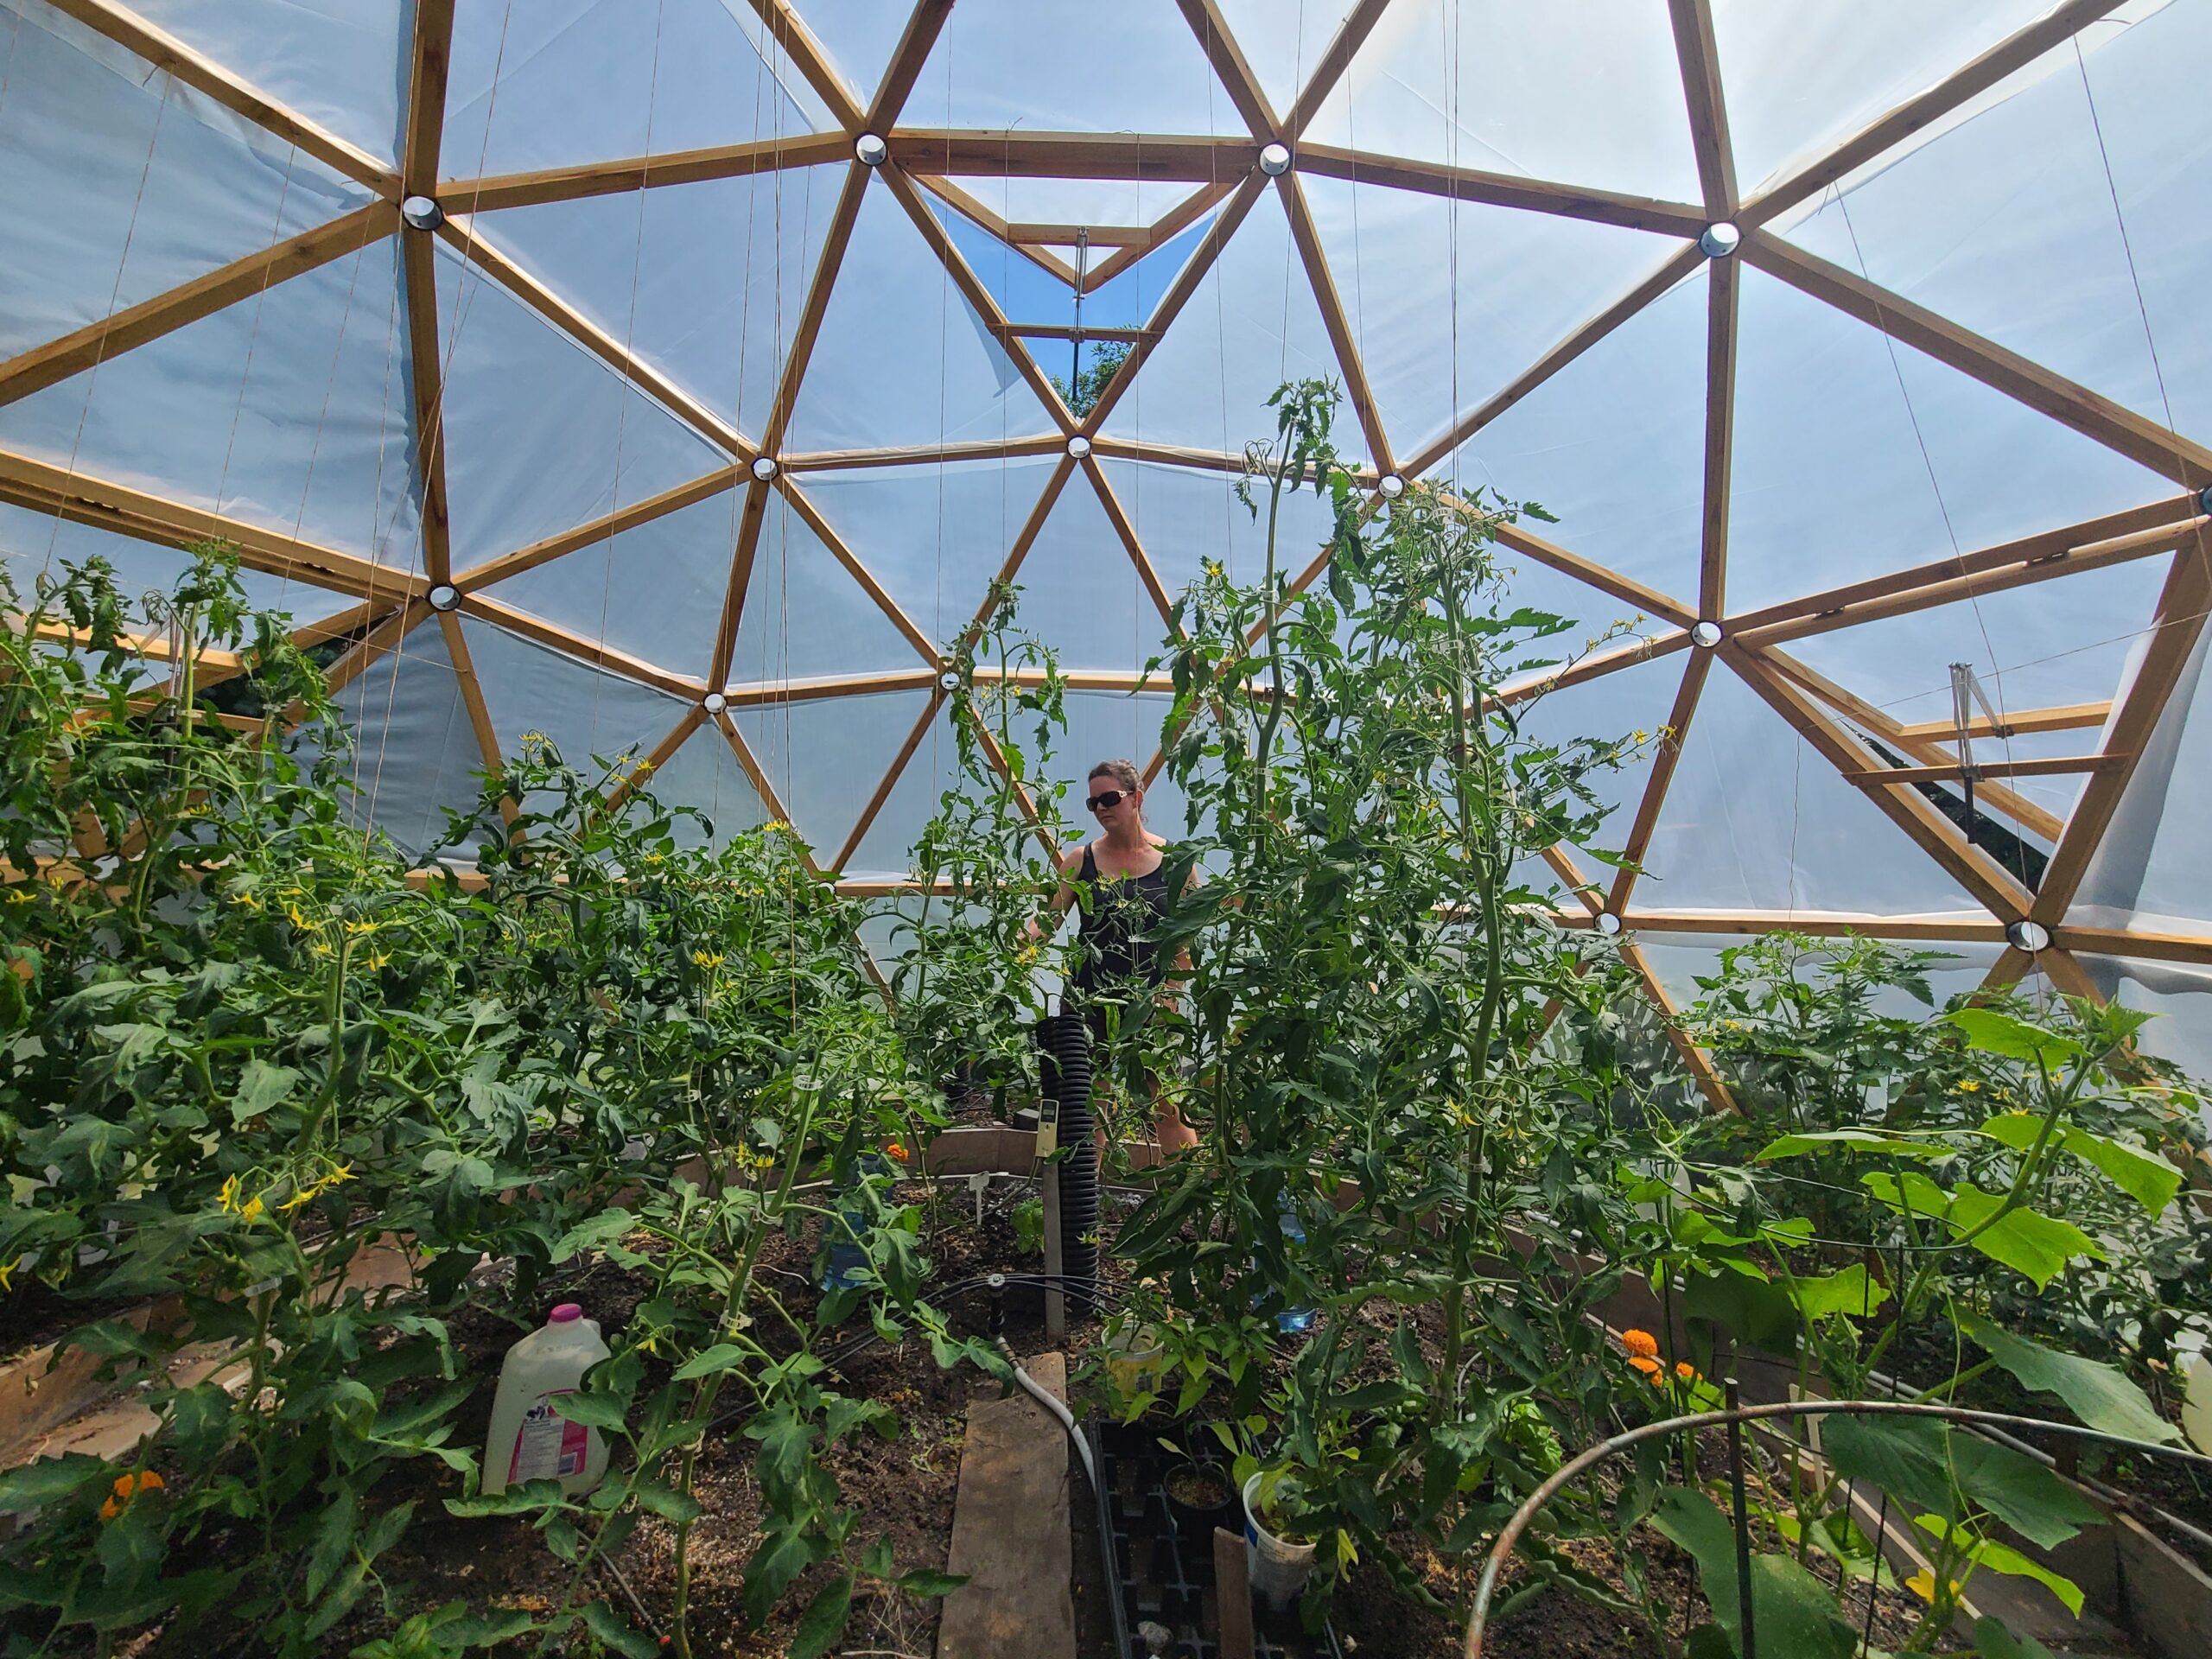
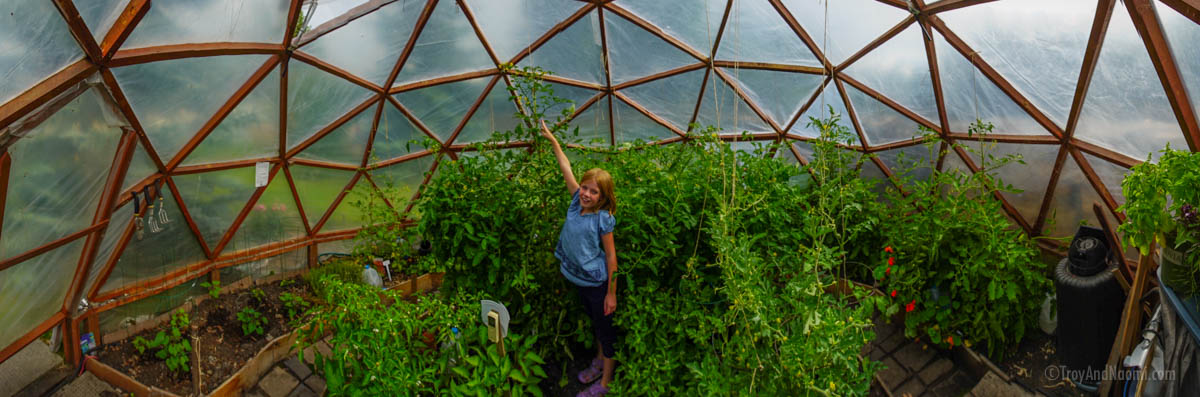
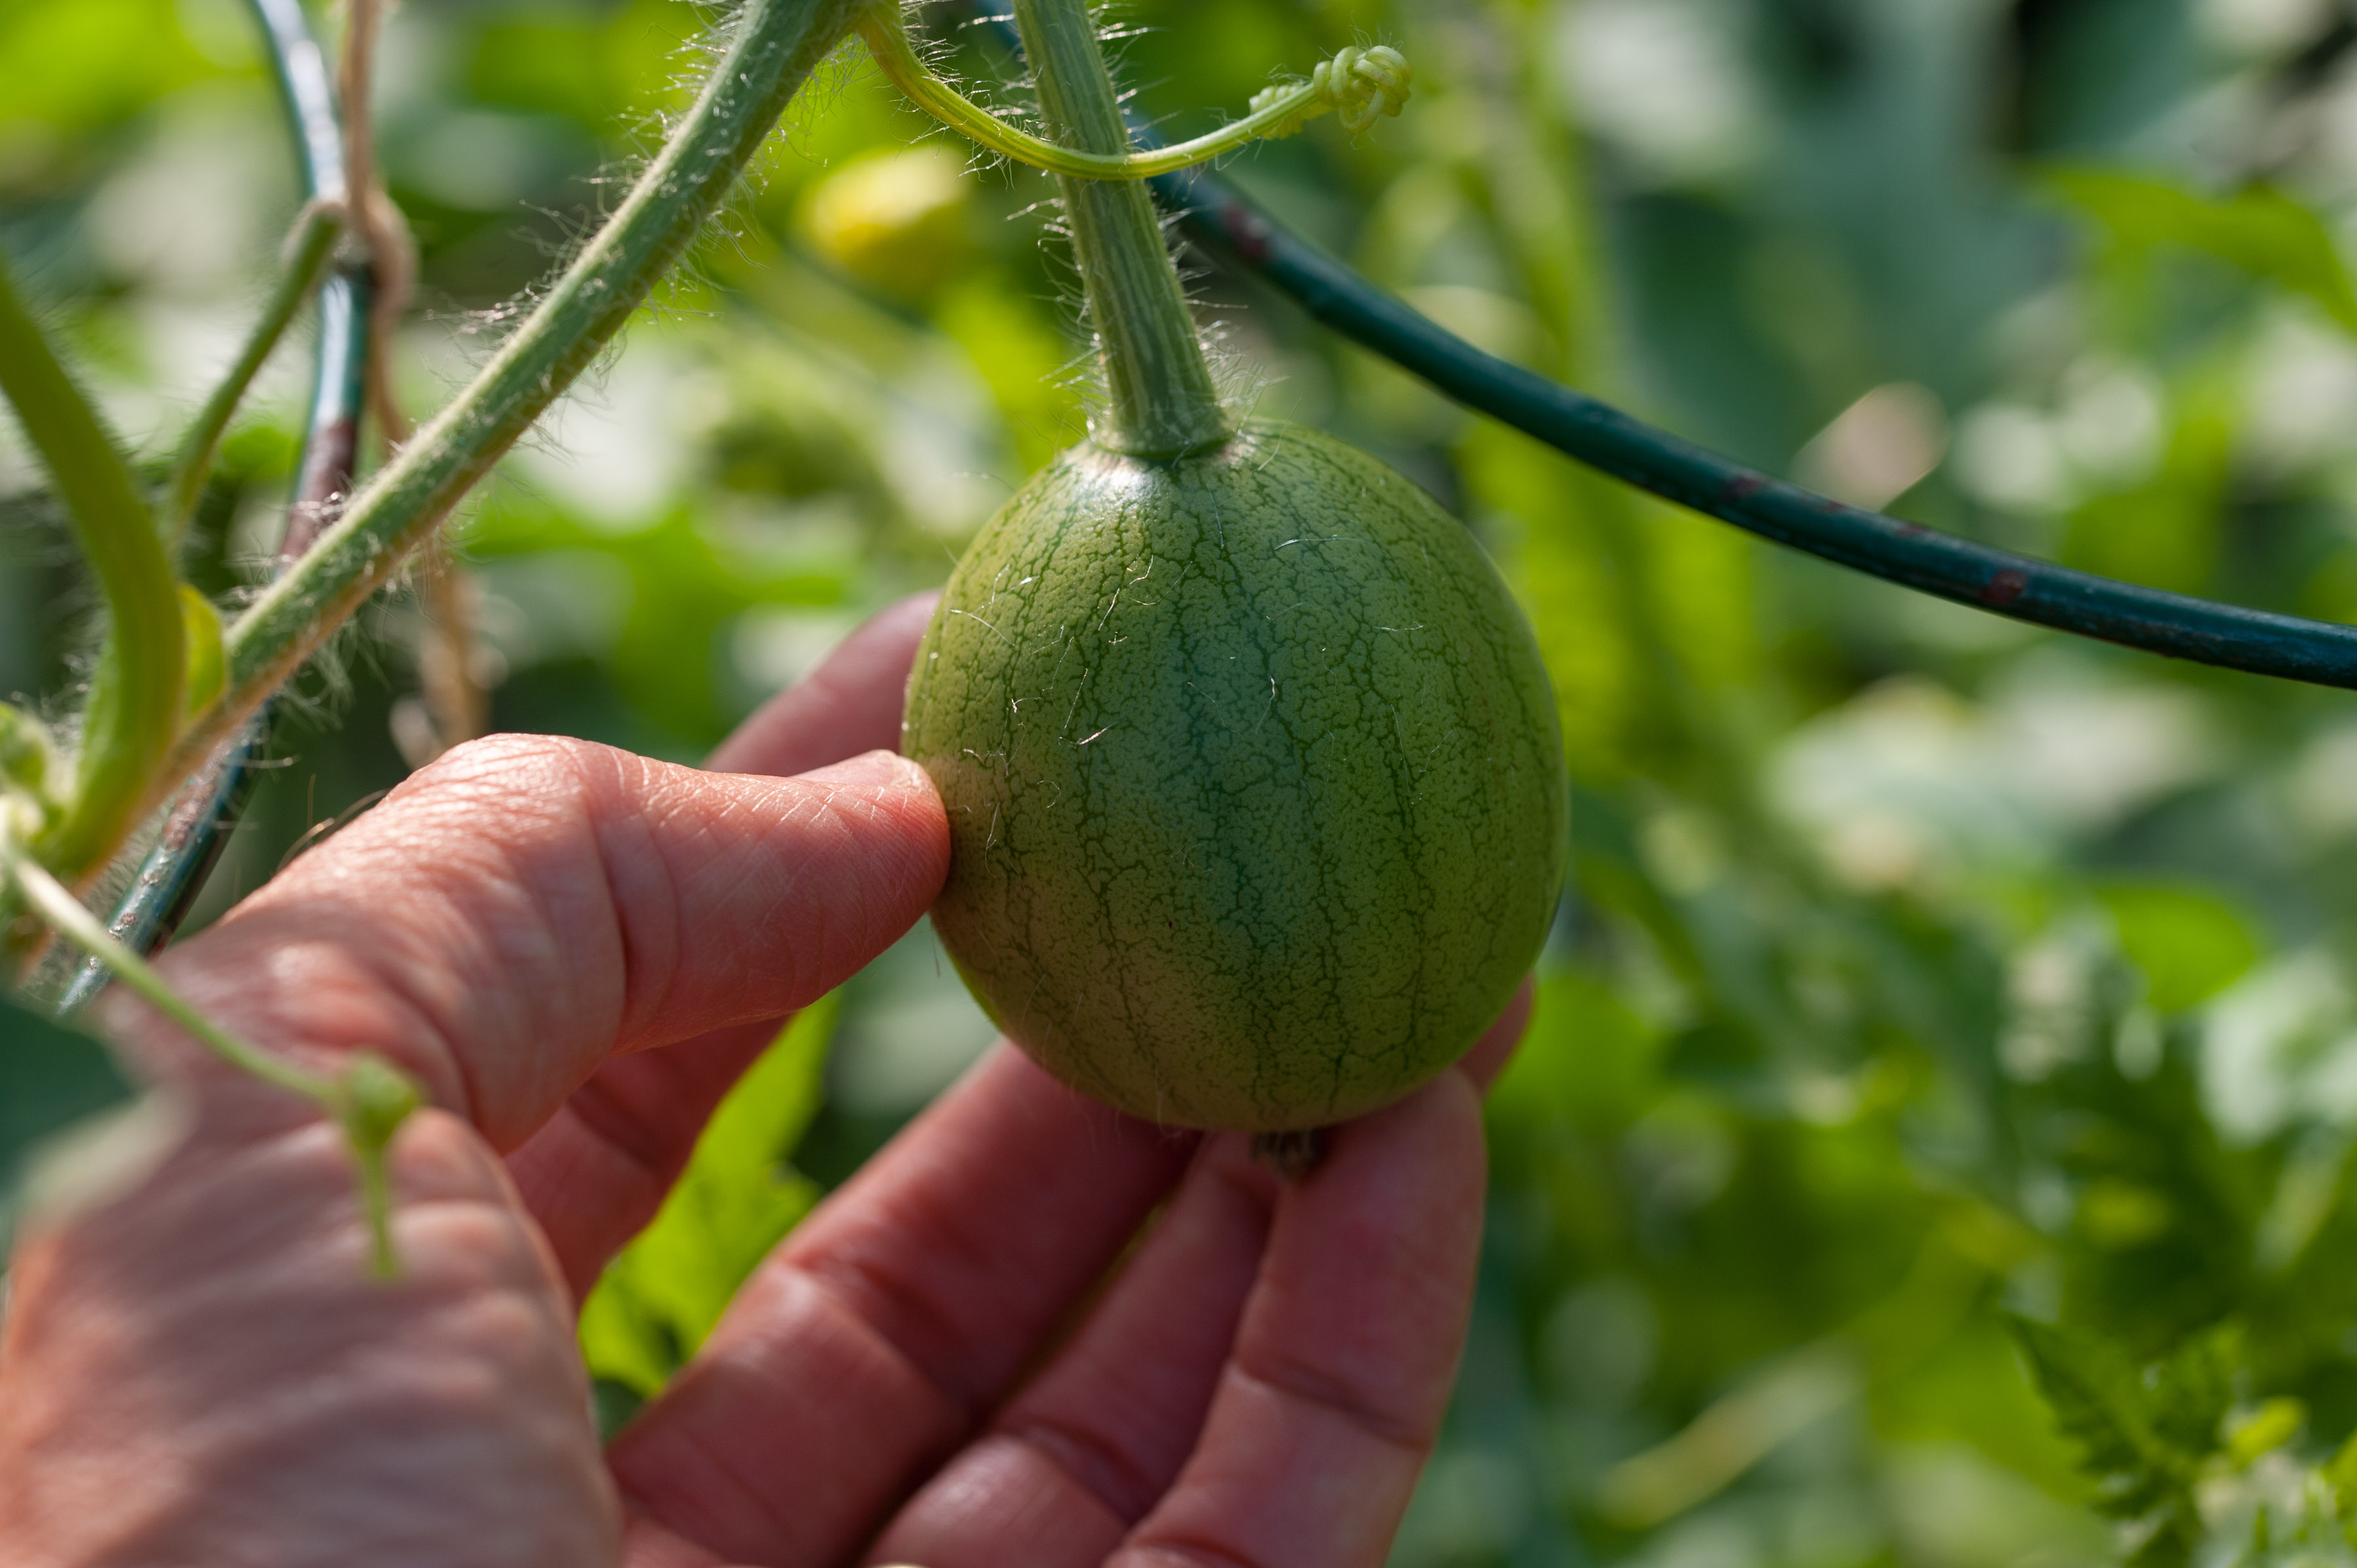
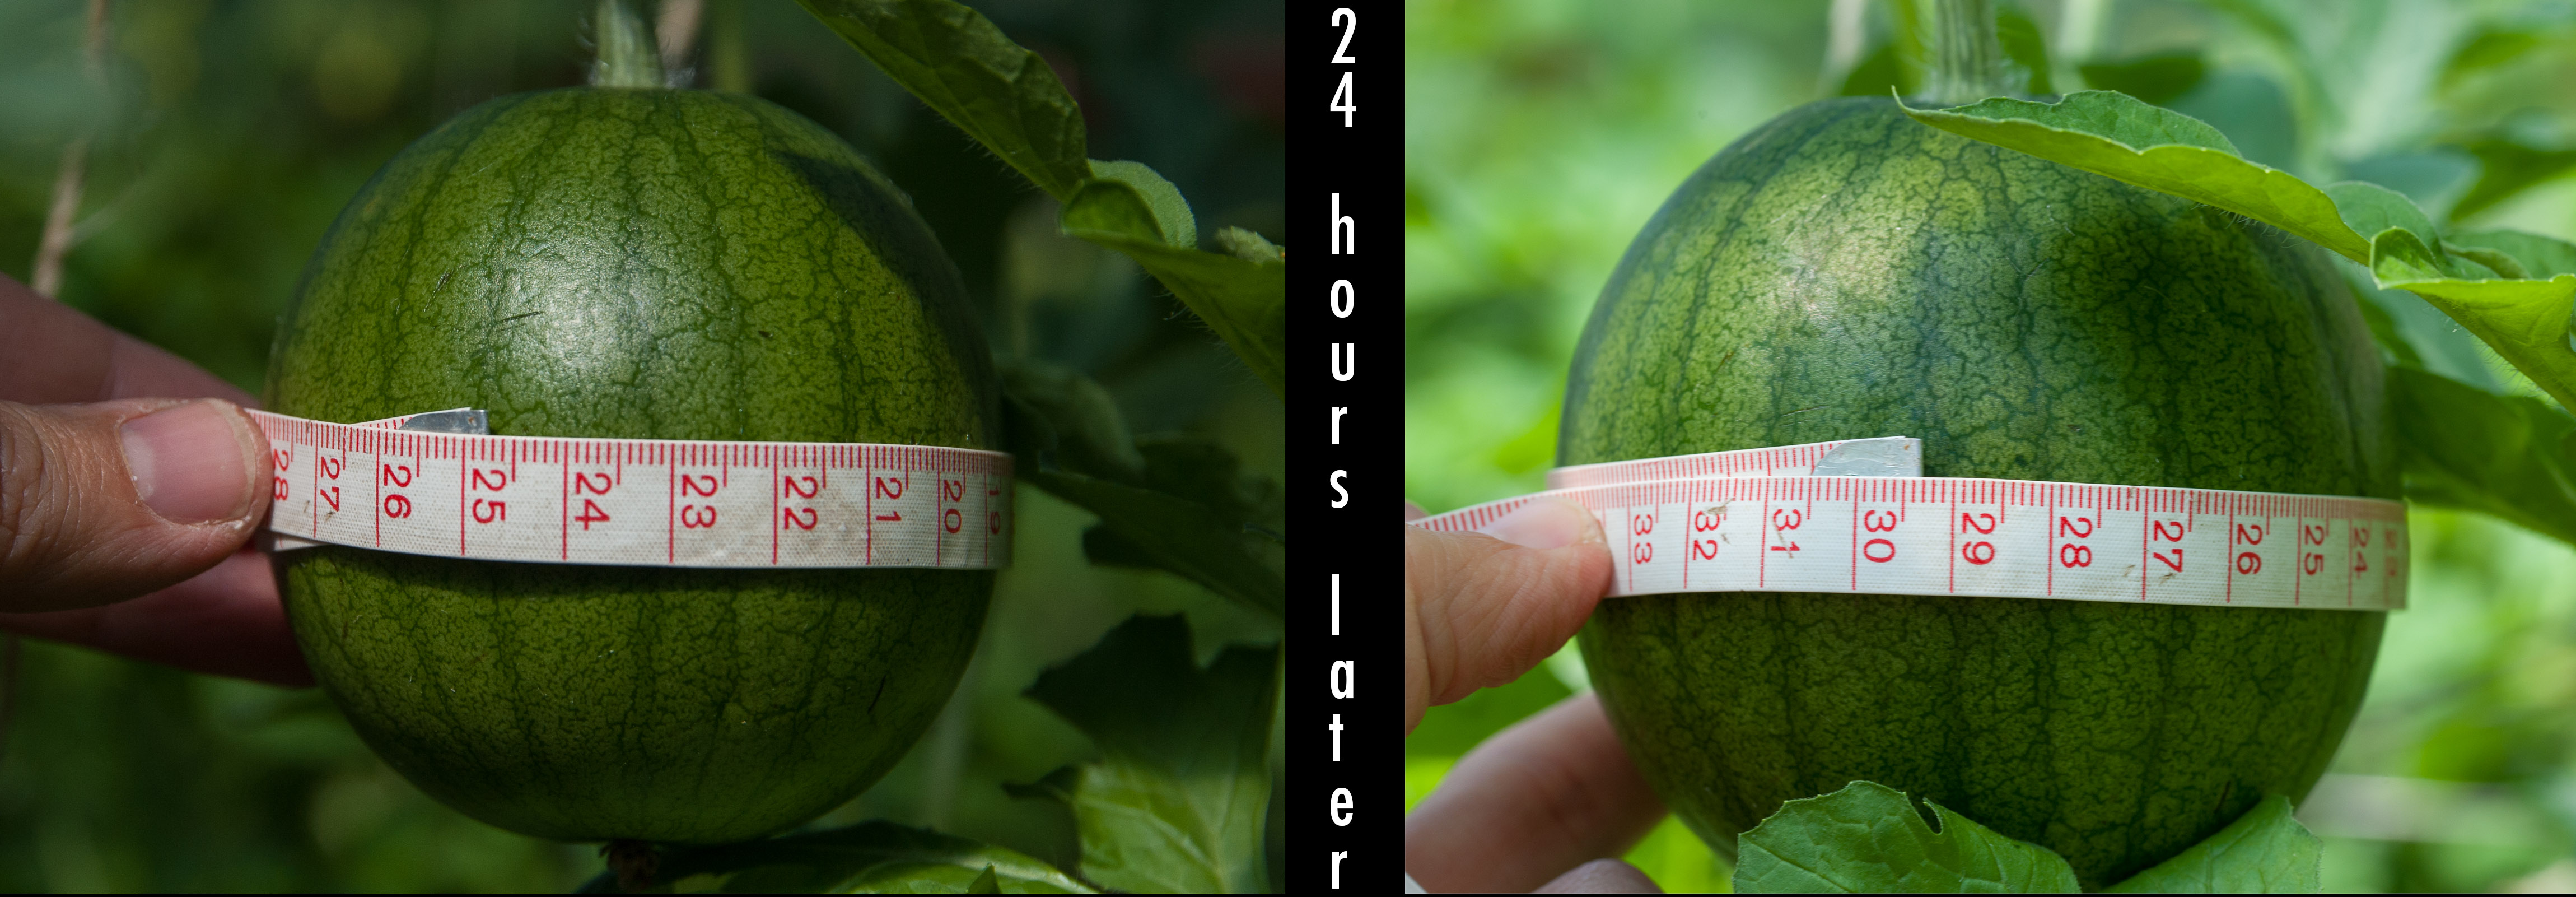
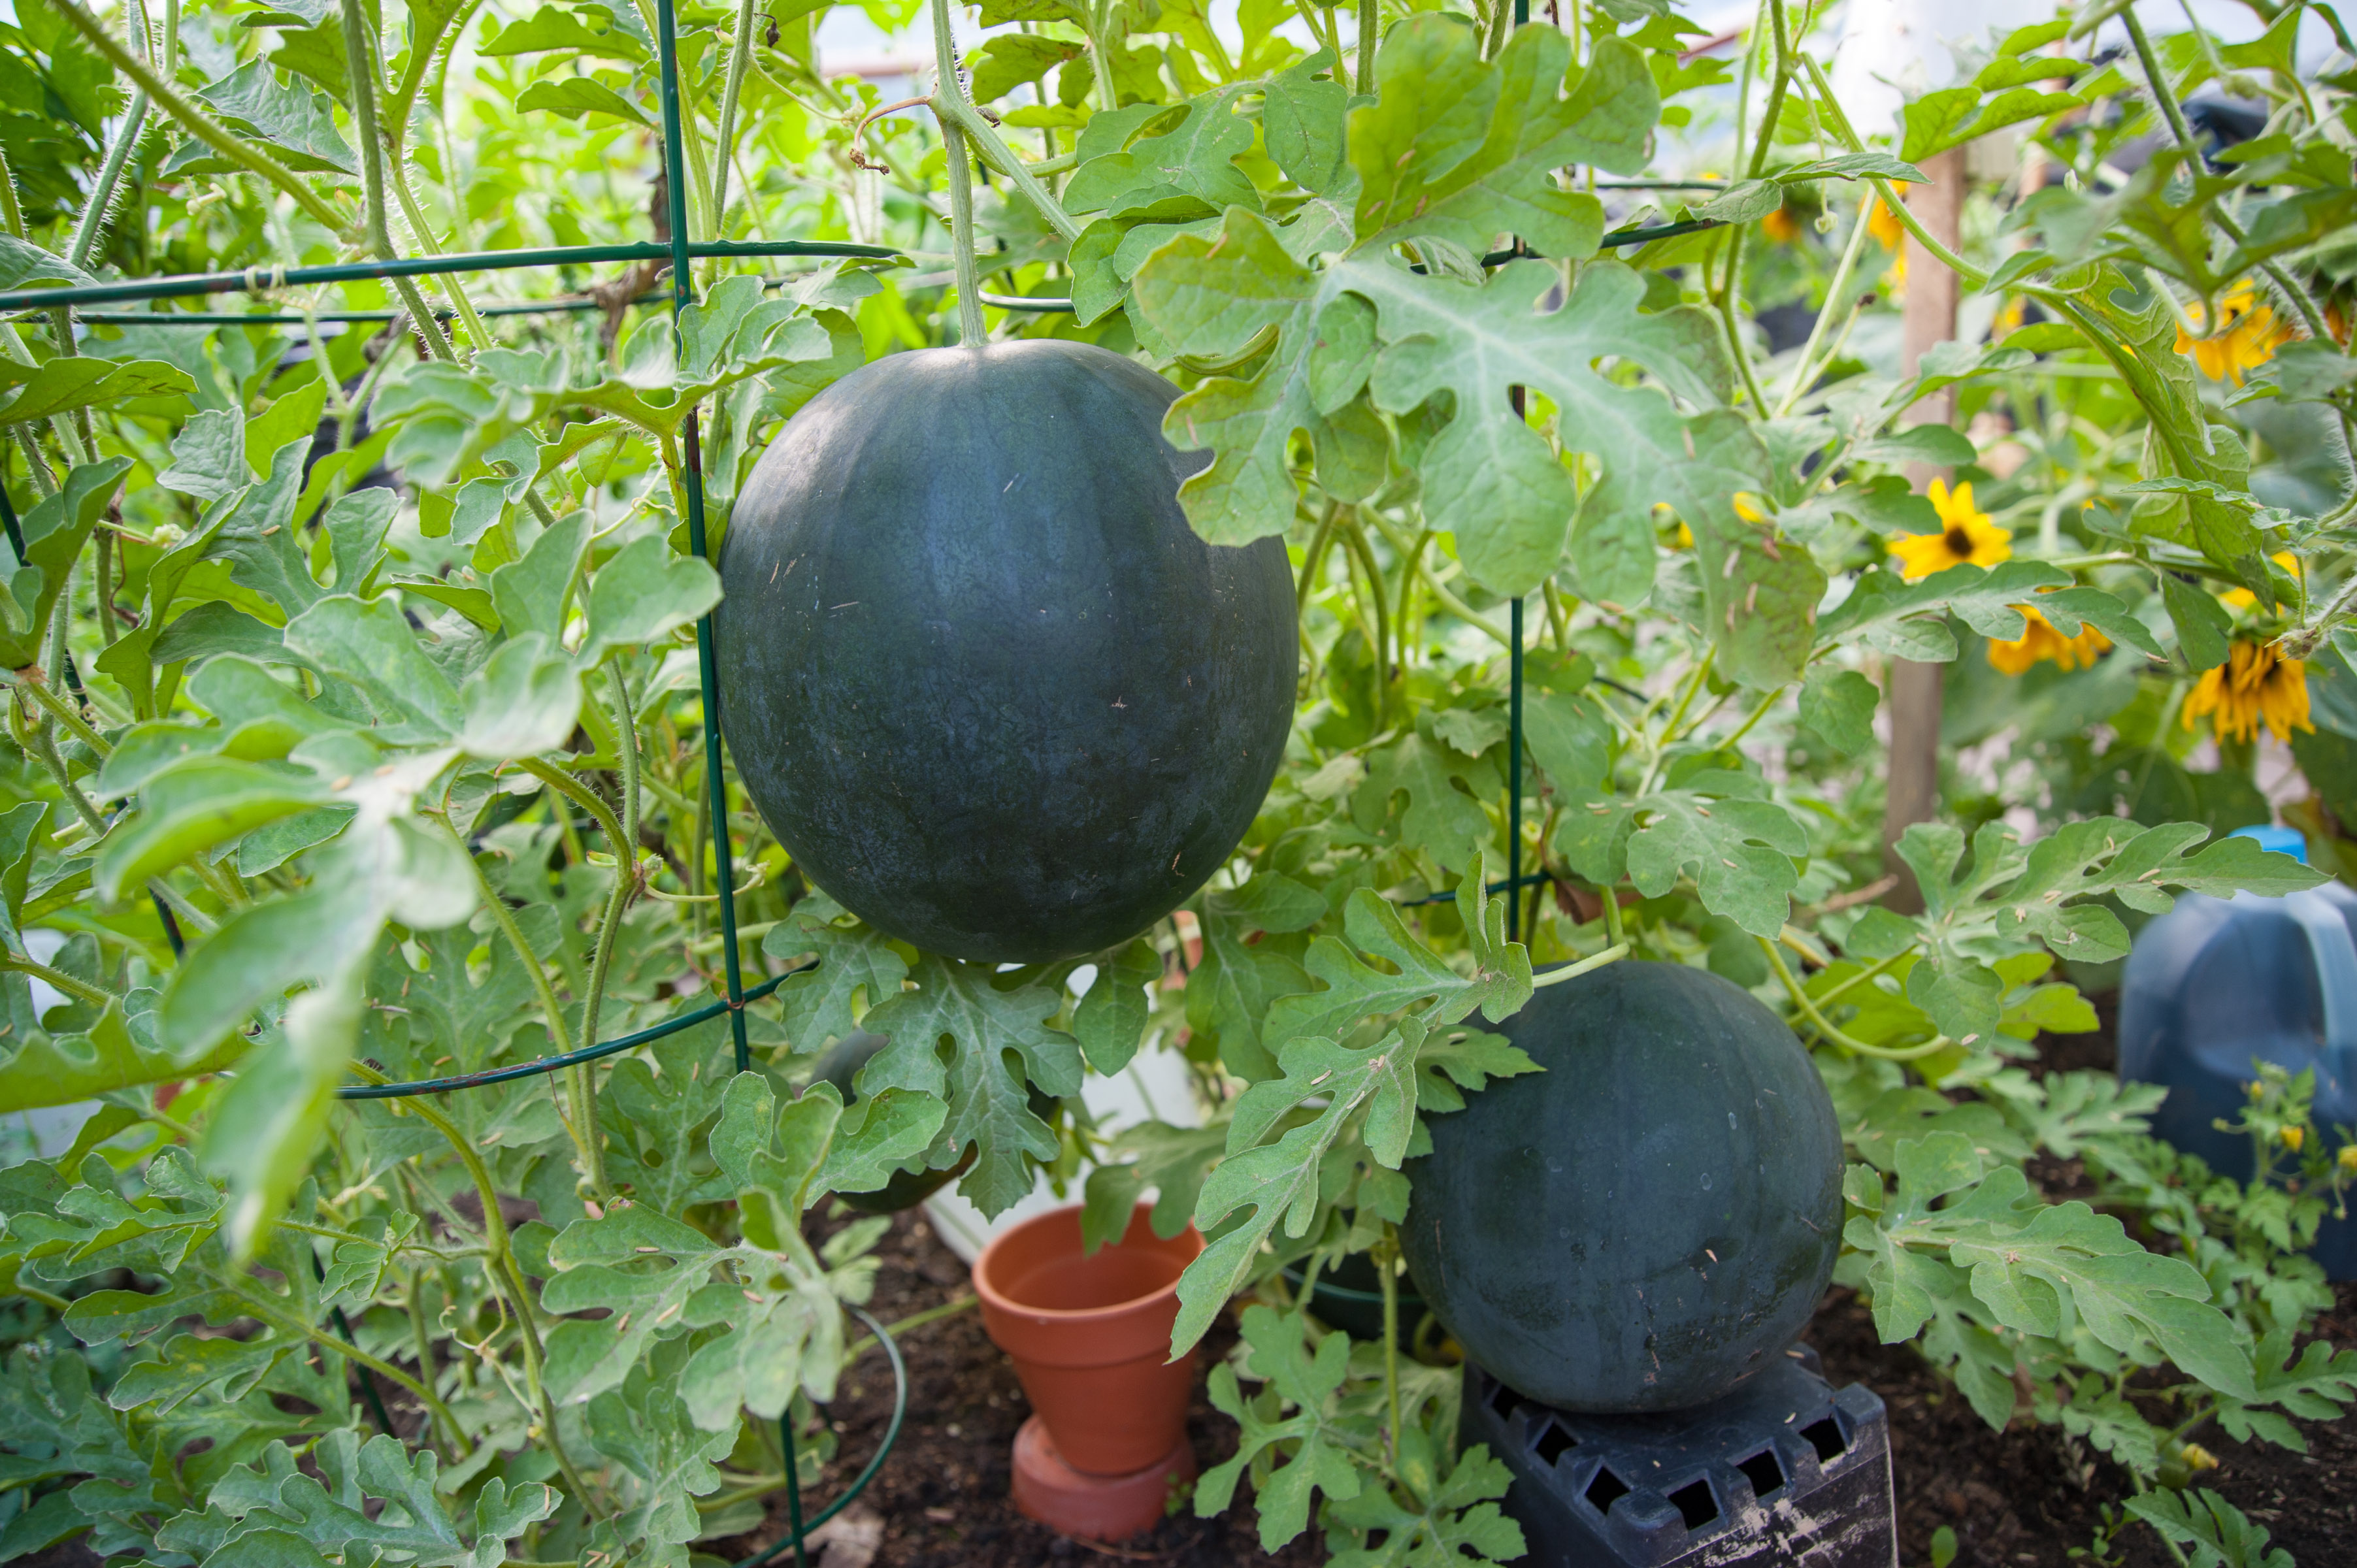
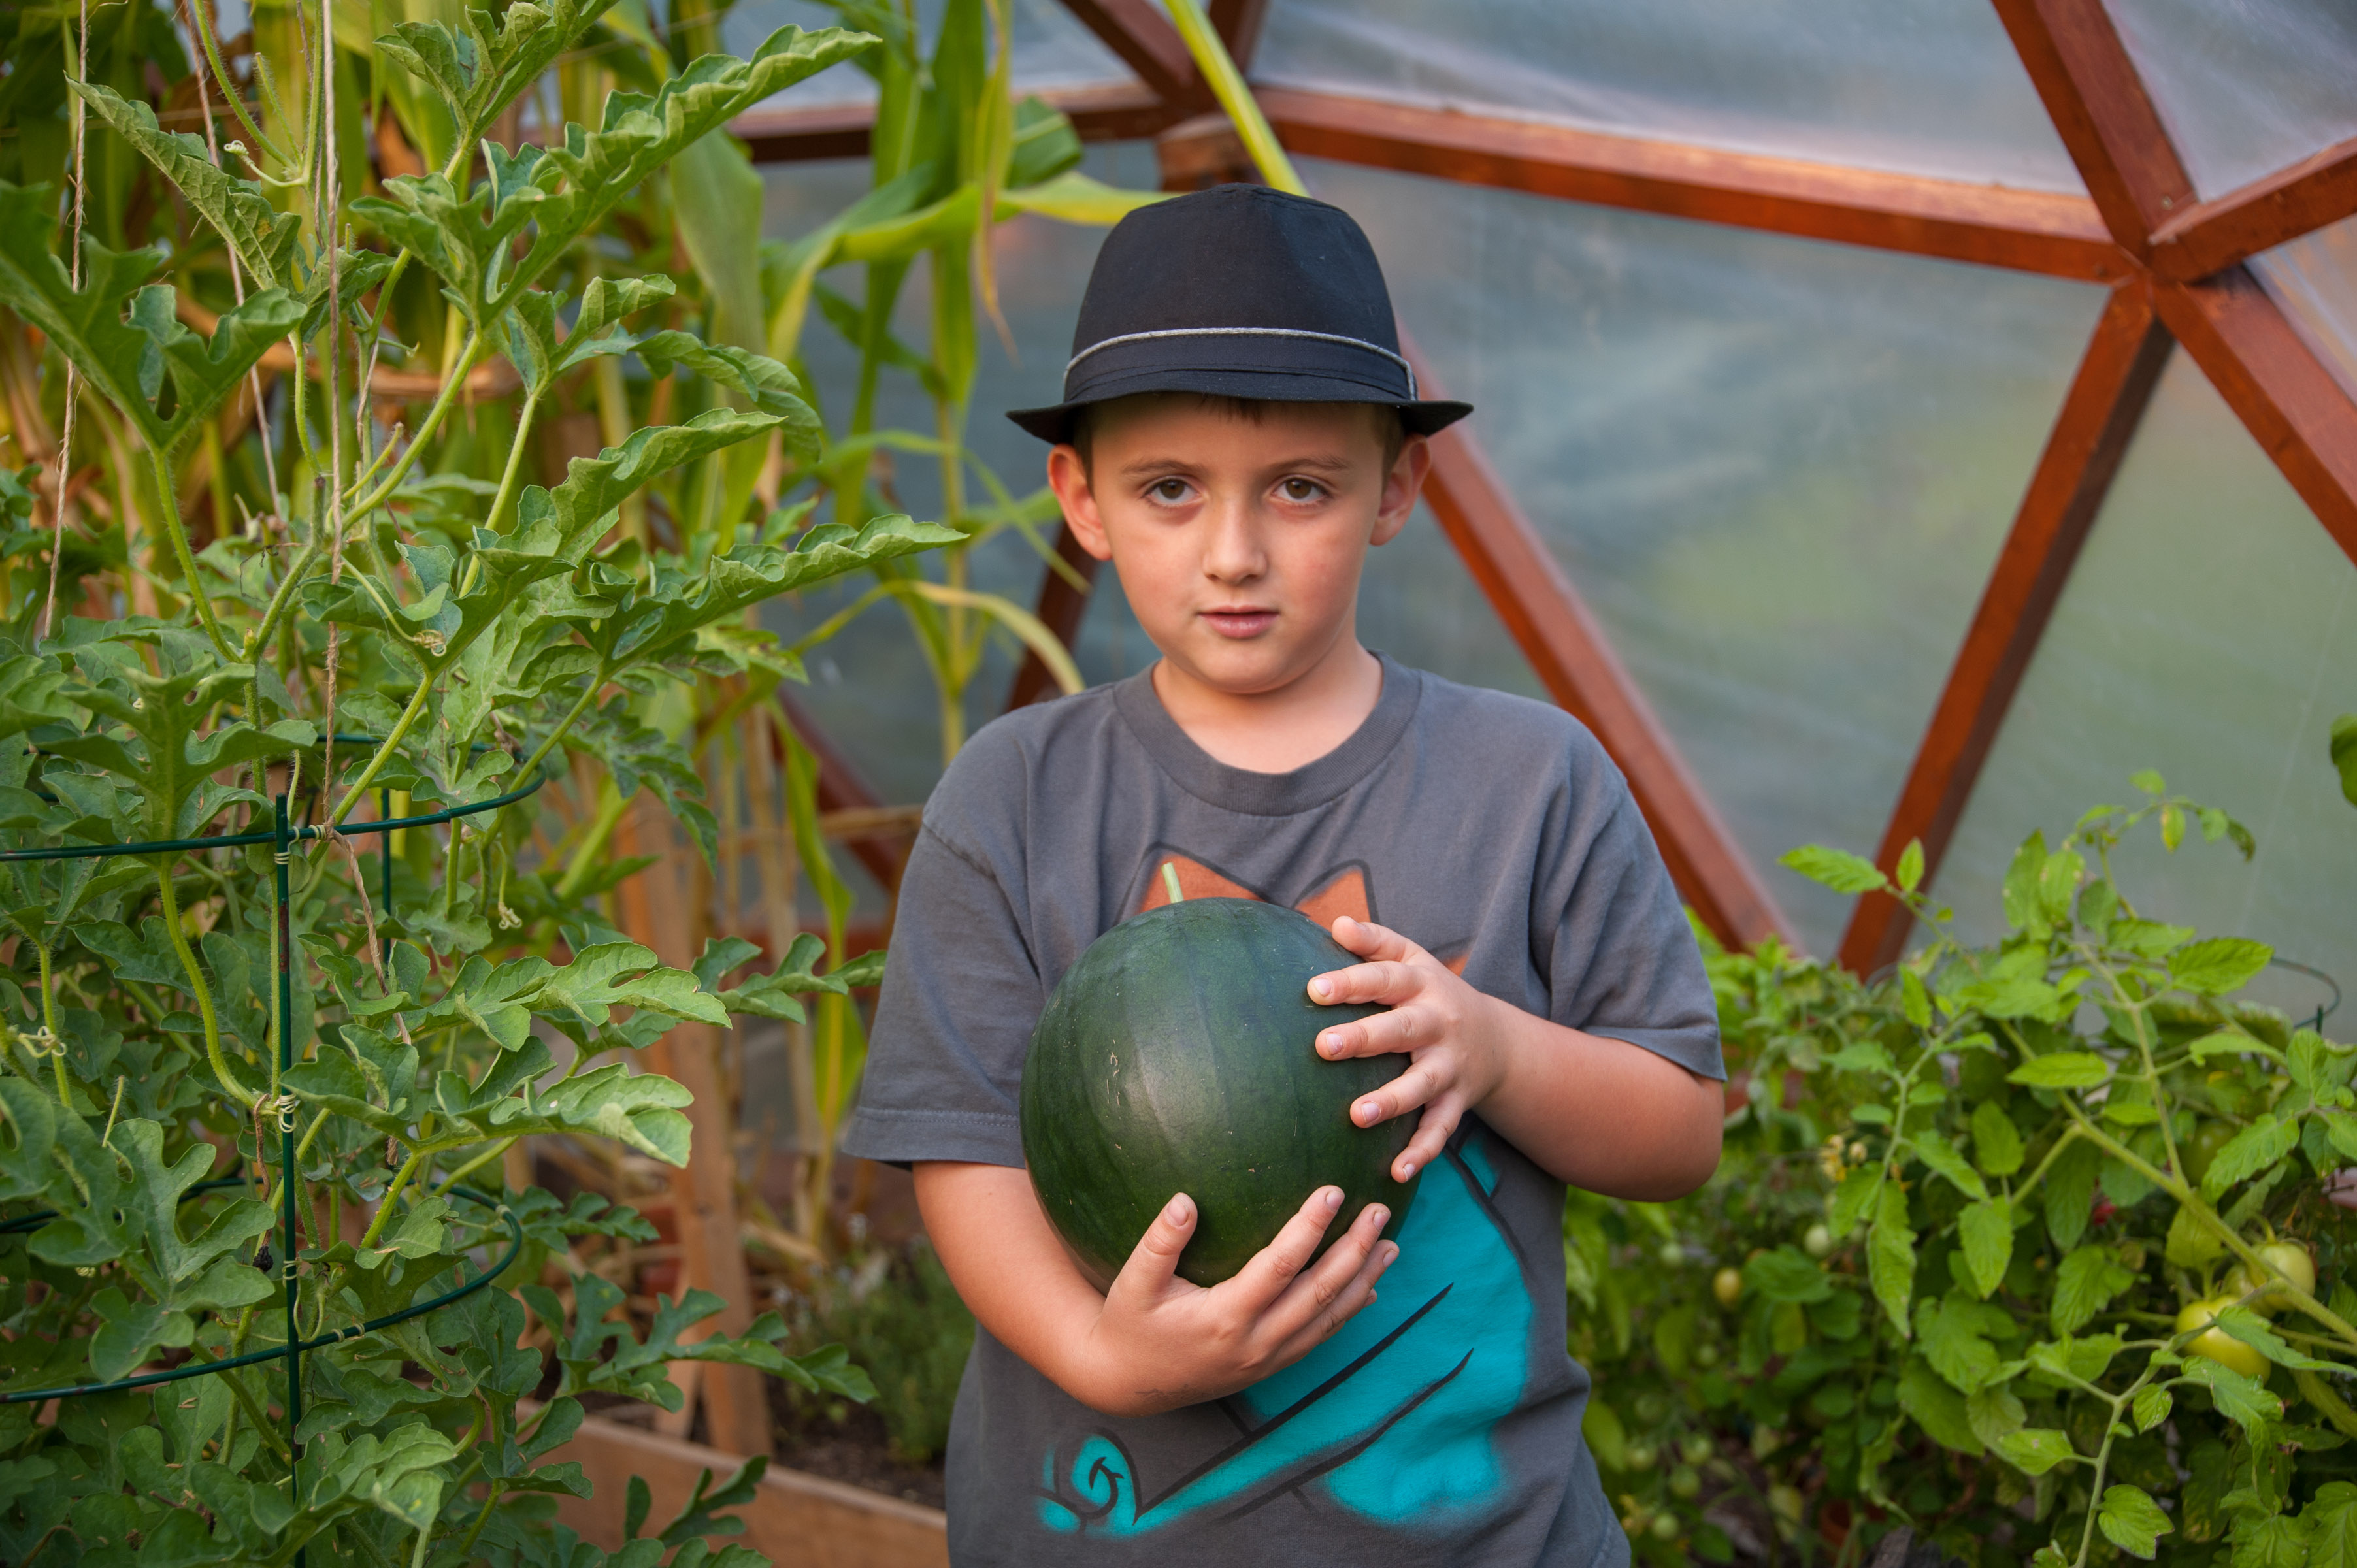
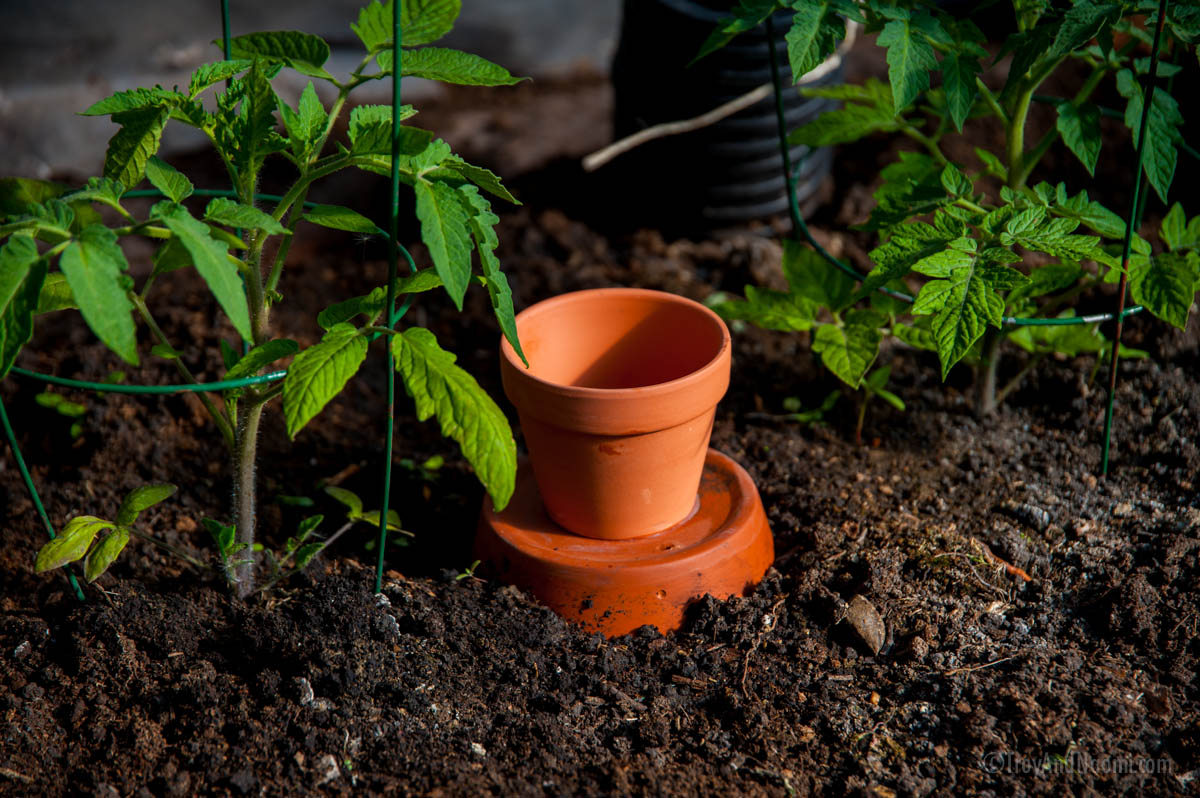
Once the inside ladder work was done you can see Naomi at work planting tomatoes and peppers.

How does your garden grow?

GreenhouseMost of the garden is growing very well again this year. Naomi is going with more indeterminate tomatoes (climbing up instead of bushy plants), and we are attempting some sweet potatoes! Not normally grown in Canada, this is a special variety that has been bred for Canadian summers. We only found out after we ordered that they were not good in greenhouses, but in Alberta, that is the only place we will be able to grow them.

We moved our shed up beside our house and made the land where it was into a garden. It was a late start as we only got the shed moved in early July, but the plants are making up for lost time after being planted in warm soil. Nice to have a potato patch in the yard.

We have expanded the foodscaping with a new garden in the front yard this year. This has been the sunniest part of our property, but has only been a patch of lawn. The kids don’t even play out on it as it is right next to a very busy street, so it is very nice to start making it productive. Once we cut down our sickly poplar earlier in the Spring, we could finally begin to put in some bushes and other plants. To start, we just have three types of cherries, three blueberries, a couple goji berries, and some strawberries. Oh, and some flowers and rose bushes. Next year we will mix in some more edible landscaping!

[click an image for a caption]

Watermelons

20150719-TWJ_4302

This year we are growing some watermelons in our greenhouse. The seeds took a long time to germinate, but once they started growing, they grew very fast. Each day I would go to the greenhouse and you could see how much they had grown, with the vines reaching higher every day and we would have to detangle them from the other plants. I decided to take a time lapse to see the growth and motion of these plants. This was done in the greenhouse with the door closed and no fans, so there isn’t any wind blowing things around in there. I expected the vine’s tendrils to move around as they search for something to grip onto, but not for the whole thing to move this much. This was shot over 4 hours, with one picture every 60 seconds.

A watermelon blossom.

20150715-TWJ_3993

The first melon on July 14th.

20150714-TWJ_3847

The melons themselves also grew very fast, sometimes up to 4 or 5 cm a day! These photos were from July 18 and 19.

20150718-TWJ_4134-Edit

August 27th.

20150827-TWJ_5930

We had heard that you can tell when a watermelon is ripe when the little tendril immediately above it starts to dry up.

20150827-TWJ_5932

So here is our first watermelon in late August. It was 57.5 cm in diameter, and weighed 3.25 kg (7 lbs, 2.4 oz).

20150827-TWJ_5933

It wasn’t quite as red as we expected it to be on the inside, and we maybe could have left it on the vine for another week or so. However, it was still delicious!

20150827-TWJ_5944


Ollas, Oh Yeah

Ollas

Ollas, (pronounced “oy-yah”) are a water conserving method of garden irrigation. Basically, it consists of terra cotta pots buried in the ground and filled with water. Since terra cotta is permeable, the water is drawn out as the soil dries. Plants near the ollas will get a more consistent source of water, which some plants really do well with. The more the plant needs, the more it draws. Theoretically, ollas use up to 50-70% less water and can deprive weeds of moisture by keeping the water down under ground = less watering, less weeding.

I first heard about it here (waldenlabs.com/the-most-efficient-irrigation-system-in-the-world/) and really liked the idea. Last summer we set up the greenhouse and went away for a month and it was a lot of work for someone to water. We wanted to have some system that we could leave for a few days, efficiently water the gardens, and hopefully reduce work. I could have just used a timer and a drip irrigation system, but I don’t like the idea of leaving the water turned on while we are away from home. When I read about ollas, I thought this might be the answer.

We decided to make our own ollas rather than order them for around $30 each. This means they are a bit smaller, and more water is distributed near the surface than the lightbulb shaped ones you can buy, but they are also way cheaper to make.

We made sure to use a silicone that is not toxic – we found one that is often used to fix fish tanks. We also drilled a small hole near the top to allow air out when filling. The kids are often given the job to fill them up and they can usually go a couple days before they need to be topped up again.

Ollas in the greenhouse

So far the ollas seem to be working well for us. We’ll see how it goes during the hot part of the summer, but next year I would like to try making more of them and a bit larger.